How to Apply Self Tanner: A Step-by-Step Guide for Beginners

There's something about a sun-kissed glow that just makes you feel like your best self. More confident, more radiant, more ready for whatever the day throws at you.
But here's the thing: you don't need to bake in the sun (and deal with all the UV damage that comes with it) to get that bronzed look. Self-tanners have come a seriously long way from the streaky, orange-tinted formulas of the past.
Today's best products deliver natural, even color that genuinely looks like you just got back from vacation. The catch? Application technique matters. A lot. Get it right, and you'll look like a golden goddess. Get it wrong, and you'll be Googling "how to remove self tanner" by morning. So let's make sure you get it right.
What You'll Need
Before you start, gather everything in one place. There's nothing worse than being halfway through application with tanner drying unevenly while you rummage through your bathroom cabinet. Here's your checklist:
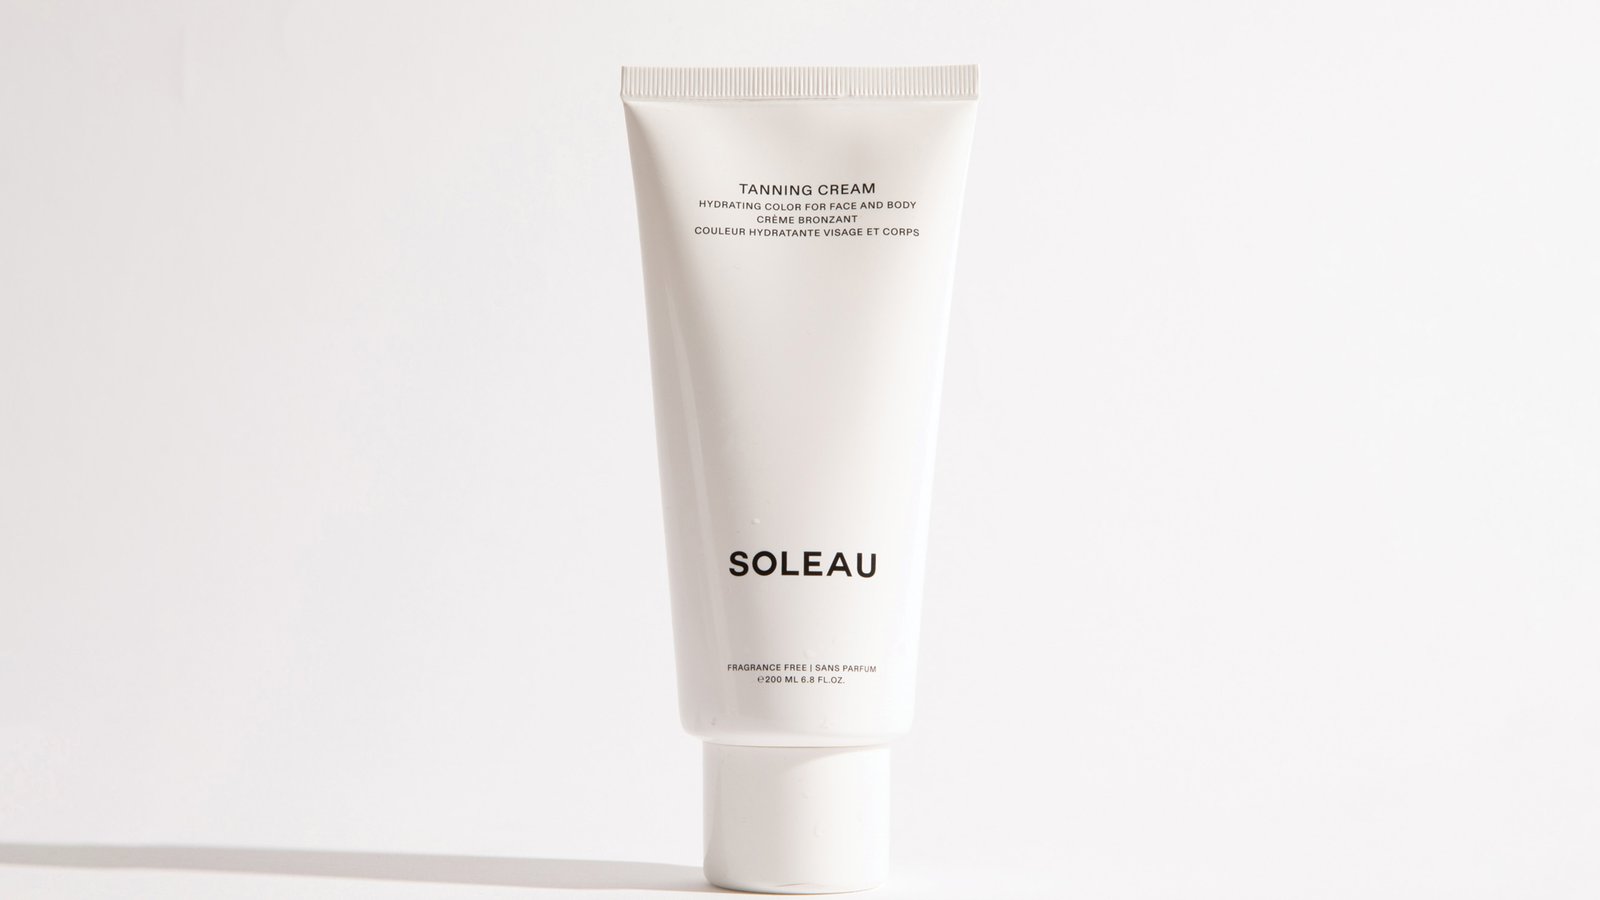
- A quality self tanner — This is the most important piece of the puzzle. You want a formula that blends easily, develops naturally, and won't leave you looking like a traffic cone. A clean, hydrating cream formula like Soleau Tanning Cream is our go-to because it glides on smoothly, never turns orange, and actually nourishes your skin while it tans. (We also ranked the best self tanners for your body if you want to compare options.)
- An exfoliating mitt or scrub — To slough off dead skin cells before application. This is non-negotiable for an even finish.
- A tanning mitt — Applying self tanner with bare hands is a recipe for stained palms and uneven streaks. Always use a mitt.
- A lightweight moisturizer — For prepping dry areas that tend to absorb too much product.
- Loose, dark clothing — What you'll slip into while your tan develops. Save the white linen for later.
Step-by-Step: How to Apply Self Tanner
Whether this is your very first time or you're looking to level up your technique, follow these steps for a flawless, streak-free self tan at home.
Step 1: Exfoliate 24 Hours Before
This is the step that separates a patchy tan from a perfect one. About 24 hours before you plan to apply, give your entire body a thorough exfoliation.
Use a gentle scrub or exfoliating mitt in circular motions, paying extra attention to areas where dead skin tends to build up: your knees, elbows, ankles, and any rough patches. This creates a smooth, even canvas so the tanner absorbs uniformly instead of clinging to dry flakes.
Step 2: Shave or Wax Beforehand
If you shave or wax, do it at least 12 hours before applying self tanner — ideally the night before.
Shaving right before application can open up your pores and cause the tanner to settle into the follicles, leaving you with those dreaded little dots. Giving your skin time to calm down after hair removal means a smoother, more natural result.
Step 3: Moisturize Dry Areas
Right before you apply your self tanner, dab a thin layer of lightweight, oil-free moisturizer onto the areas that tend to drink up too much product. Think knees, elbows, wrists, ankles, hands, and feet — basically anywhere your skin is naturally drier or thicker.
This acts as a barrier that prevents the tanner from over-absorbing and turning those spots darker than the rest of your body. You don't need a thick coat — just a light layer to even things out.
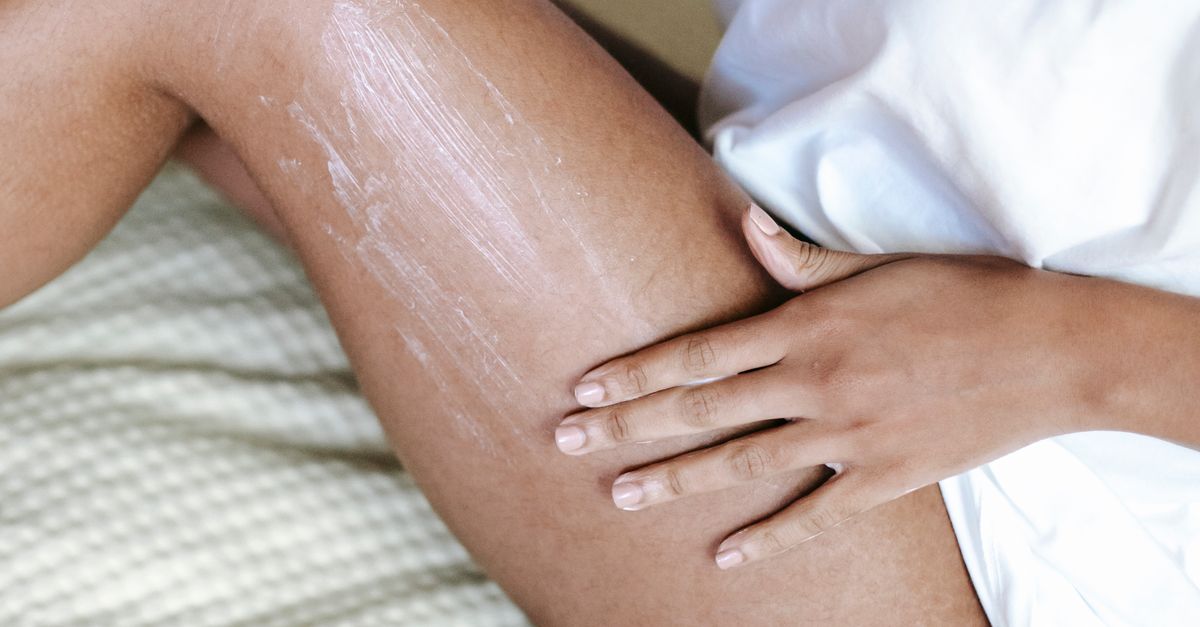
Step 4: Apply in Sections
Here's where the magic happens. Squeeze a generous amount of self tanner onto your tanning mitt and work in sections, starting from the bottom up. Begin with your legs (one at a time), then move to your torso, followed by your arms, and finish with your face and neck.
Working in sections keeps you organized and ensures you don't miss any spots. Use long, sweeping strokes and blend in circular motions for the most natural finish. Legs are the biggest canvas and the easiest place to streak, so we wrote a dedicated guide on how to self tan your legs.
Step 5: Use a Tanning Mitt for Even Application
We mentioned this in the supply list, but it's worth repeating: always use a tanning mitt. It distributes the product evenly, prevents streaking, and keeps your palms from turning brown.
Apply the tanner to the mitt first (not directly onto your skin), and then buff it into each section. The mitt gives you more control and a much more professional-looking result than bare hands ever could.
Step 6: Blend Tricky Areas
The difference between a good self tan and a great one is how you handle the details. After you've covered the main areas, go back and give some extra love to the spots that trip most people up. Use whatever product is left on your mitt (don't add more) to lightly blend over your hands, feet, ears, and hairline.
For your hands, sweep the mitt lightly over the backs and down each finger. For your feet, just feather the product over the tops and blend around your toes. Less is more in these areas — you can always build up, but you can't easily take away. And if you're tanning solo, your back is the trickiest spot of all. Our guide on how to self tan your back covers the tools that make it doable alone.
Step 7: Let It Dry Before Dressing
Patience pays off here. Stand and air-dry for at least 5 to 10 minutes before putting on any clothing. If you can give it a little longer, even better.
When you do get dressed, choose loose-fitting, dark clothing to avoid rubbing off the product or staining your favorite pieces. Tight clothes can create friction lines and uneven spots while the tan is still developing, so now's the time for those cozy, oversized sweats.
Common Self-Tanner Mistakes to Avoid
Even with the best technique, a few common slip-ups can sabotage your results. Keep these in mind:
- Applying to wet or damp skin. Your skin needs to be completely dry before you apply self tanner. Any moisture — from a shower, moisturizer that hasn't absorbed, or even sweat — will dilute the formula and create uneven patches. Pat yourself fully dry and wait a few minutes before starting.
- Skipping exfoliation. We know, it feels like an extra step. But if you skip it, you'll end up with a splotchy tan that clings to dead skin and fades unevenly. It's the single most important prep step you can do.
- Using too much product on joints. Your knees, elbows, and ankles have more texture and absorb product faster than the rest of your body. Go lighter on these areas and blend outward with what's already on your mitt. If you treat them the same as your legs or arms, they'll end up noticeably darker.
- Forgetting to wash your hands. Even if you used a mitt, it's a smart idea to wash your hands (including between your fingers and around your nails) right after you finish applying. Any stray product around your cuticles or nail beds will be very obvious once the tan develops.
- Rushing the drying time. Getting dressed too quickly or sitting on light-colored furniture before the tan has set is a classic rookie mistake. Give yourself those 5 to 10 minutes of air-drying. It makes a real difference in how evenly the color develops.
How Long Does Self Tanner Take to Develop?
Most self tanners need anywhere from 4 to 8 hours to fully develop, depending on the formula and the depth of color you're after.
A good rule of thumb: apply in the evening, sleep in loose dark pajamas, and shower the next morning. When you rinse off, you'll see the guide color wash away and your true tan will be revealed underneath.
One thing worth noting is that the type of formula you choose affects how the color develops. Cream-based self tanners like Soleau tend to develop more gradually and naturally than mousse or spray formulas.
Because the cream base keeps your skin hydrated throughout the development window, the active ingredients interact with your skin more evenly.
The result is a warmer, more believable color that looks like you actually spent time in the sun — not like you applied a product. It also means the fade is more graceful: think an even, gradual lightening rather than patchy peeling.
For a full breakdown of the best self tanners on the market, see our complete ranking of the best self tanners for 2026.
Shop Soleau Tanning Cream →