How to Clean a Tanning Mitt: A Simple Guide

I found my favorite mitt stiff and orange-tinged in a drawer once, months after I'd tossed it in there damp and forgotten about it. It never fully recovered.
Learning how to clean a tanning mitt properly is the difference between one that lasts a season and one you're replacing every few weeks. It takes under two minutes, and skipping it is the fastest way to turn your best applicator into a streak machine.
Why a Dirty Mitt Ruins Your Next Tan
Old self-tanner doesn't just sit on top of a mitt's fibers. It dries into them, hardening the pile and creating rough patches that drag instead of glide.
That dried residue also transfers. Your next application picks up old product mixed in with the fresh tanner you just loaded. That's a cause of a weird gray or greenish tint some people blame on the formula instead, and it's rarely the formula's fault.
A mitt you rinse right after every use skips all of this. It stays soft, keeps gliding, and actually lasts as long as the fabric is built to.
Rinse It Immediately, Every Time
The single habit that matters most: rinse your mitt under warm running water the moment you finish tanning, before the product has a chance to dry.
Work the fabric between your hands under the tap until the water runs clear instead of tinted. This alone stops most of the buildup that eventually ruins a mitt.
Squeeze out the excess water, don't twist or wring hard, and lay it flat somewhere with airflow. I keep a small hook by my shower specifically for this, so the mitt never lands in a damp pile on the floor.
The Deeper Wash: Hand-Washing Method
Once a week, or every few uses if you tan less often, give your mitt a proper wash beyond the quick rinse. This is the method I trust most for keeping fabric soft over time.
- Fill a sink or small bucket with warm water and a small amount of mild soap or gentle laundry detergent.
- Stir until the water turns slightly bubbly, then submerge the mitt fully.
- Use a soft sponge or your fingers to work the soap into both sides of the fabric.
- Rinse thoroughly under warm running water until no more tan color washes out.
- Squeeze out excess water and lay flat to dry, away from direct heat.
Skip anything harsh here. Bleach and heavy-duty soaps break down the fibers faster than the tanner itself ever would.
A Stain-Rescue Trick for Stubborn Buildup
If a regular wash leaves tinted patches behind, add a spoonful of baking soda to your soak water before you scrub. It helps lift set-in residue that soap alone sometimes leaves behind.
Let the mitt sit in that solution for ten minutes before you work the fabric with a sponge. Rinse thoroughly afterward, since baking soda left in the fibers can leave its own residue on your next tan.
Two Mitts Beats One
I keep a second mitt in rotation, and it's a small change that solved a real problem. A mitt needs a full day to air dry properly, and a damp mitt is a bad start to your next tan.
With two in the drawer, one is always ready while the other dries. It also means you're not stretching a single mitt's lifespan by using it before it's fully clean.
Can You Machine Wash a Tanning Mitt?
Most fabric mitts survive a machine wash fine, as long as you're careful about it. Rinse off any excess tanner by hand first so you're not just moving residue around your whole laundry load.
Put the mitt inside a mesh laundry bag on a delicate cycle, cold water only. Skip the dryer completely afterward. Heat warps the waterproof lining inside most mitts and can flatten the pile permanently.
I use this method maybe once a month for a deeper reset, and hand-wash the rest of the time. Both get the job done. The machine is just faster when I've got a full laundry load going anyway.
If you're still deciding which mitt to buy in the first place, our roundup of the best tanning mitts covers which fabrics hold up best to repeat washing.
Different Fabrics, Different Care
Velvet mitts are the most delicate option on the market. They soak through faster during use, and they need a gentler hand during washing too. Skip the scrub-brush method here and stick to soft fingers working the soap through.
Microfiber holds up to firmer washing and dries faster than velvet, which makes it my pick for anyone who tans often and doesn't want to wait around for a mitt to dry between uses.
Silicone-backed or waterproof-lined mitts need extra attention at the seams, where product tends to collect and dry into a hard ridge. A toothbrush works well for scrubbing just that edge without damaging the rest of the fabric.
Mistakes That Shorten a Mitt's Life
Letting product dry before rinsing tops the list. Even a few hours makes a real difference in how much scrubbing the next wash needs.
Wringing the fabric hard to speed up drying is another common one. It stretches the fibers and can pull the wristband loose over time. Squeeze gently instead and let airflow handle the rest.
Storing a mitt damp, even briefly, invites smell that gets harder to remove the longer it sits. Brands like Bondi Sands and Luna Bronze sell their own dedicated application mitts, and every one I've tested breaks down the same way when it's left damp in a closed space.
Formula Matters as Much as Your Wash Routine
Here's what took me longer than it should have to notice. A mitt only holds onto what you load it with, and some formulas leave far more behind than others.
Thick mousses and fast-drying foams tend to cling to fabric and dry hard fast. Rinse even a few minutes late and the mitt comes out stiff. You'll notice stained patches on the next use.
A cream that stays workable longer behaves differently on a mitt. It rinses out more completely because it never fully dried into the fibers in the first place.
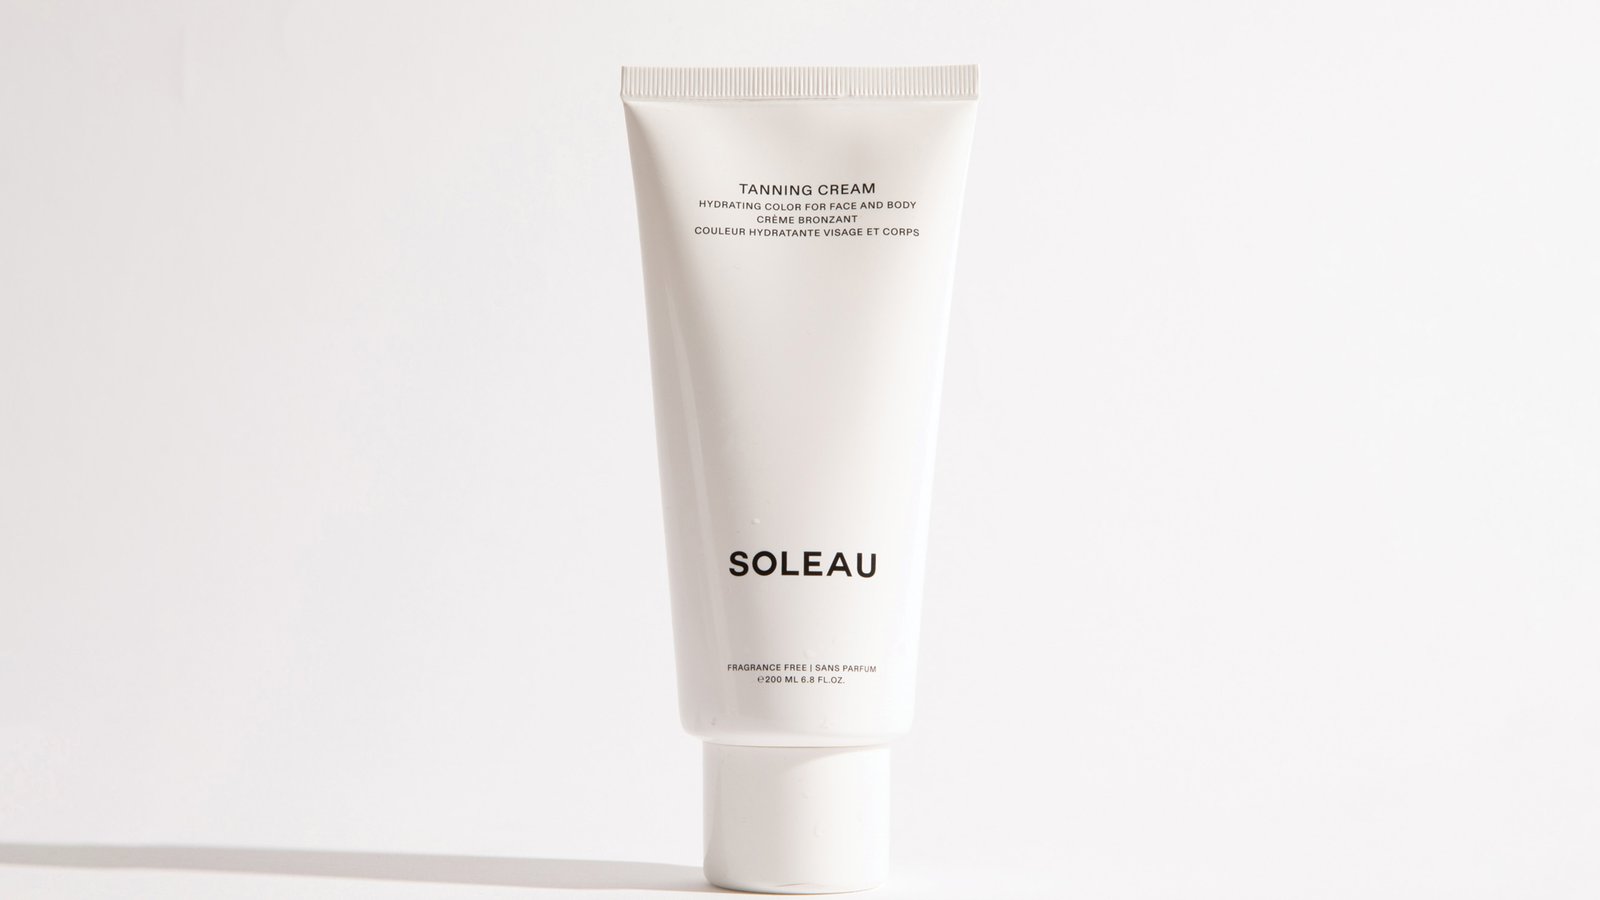
This is exactly why we like pairing a good mitt-cleaning routine with Soleau Tanning Cream, since its formula leaves noticeably less residue behind than a mousse does.
"Best tanning cream ever! White cream goes on smoothly, no streaks, no smell, turns skin a natural tan after one use. No residue on clothes or sheets!"
Signs Your Mitt Needs Replacing, Not Just Washing
A mitt that drags instead of gliding is done, no matter how thoroughly you wash it. The pile has flattened past the point of laying down an even layer.
Permanent staining that survives a full wash is another sign. If the fabric still looks tinted after soaking and rinsing twice, old product has set in deep enough that it will keep transferring onto your skin.
A smell that won't rinse out, even after soap and a full air dry, usually means product has been trapped inside the lining for a while. At that point, a new mitt costs less than the frustration of fighting a bad tan every time you use it.
How Long Drying Should Actually Take
A thin mitt dries in a few hours somewhere with good airflow. A plush mitt with more pile can take a full day, sometimes longer in humid weather.
Don't rush it near a heater or in direct sun. Both can warp the waterproof lining the same way a dryer does. A fan pointed at it speeds things up without the heat risk.
If you're tanning again the next day and your only mitt is still damp, that's exactly the situation a second mitt solves. Reaching for a slightly damp one instead of waiting it out is how mold and lingering smell get started.
Why the Smell Sticks Around
DHA residue works its way deep into thick pile fabric over repeated uses, and a quick rinse doesn't always reach it. That's usually the source of a lingering biscuity smell that seems to come from nowhere.
A second soak with a bit more soap, followed by a full day of open-air drying rather than a closed drawer, clears most of it. If you're dealing with tanner smell on your skin rather than your mitt, our guide on getting rid of self tanner smell covers that separately.
My Actual Routine
I rinse under the shower head the second I'm done applying, before I even towel off. It takes fifteen seconds and it's the single habit that's saved me the most mitts over the years.
Every Sunday, whatever mitt I used that week gets the full hand-wash treatment: soap, soak, rinse, flat dry on a towel by the window. It's part of the same routine as washing makeup brushes, just on a different day.
Skipping exfoliation before you tan is a separate mistake that also shows up in your mitt over time, since dead skin and product both build up together. Our guide to the best exfoliators before self tanning covers the prep side of that equation.
Keeping This Simple
Rinse after every use. Wash properly once a week. Skip the dryer entirely, and let the mitt breathe somewhere with airflow instead of a closed drawer.
That's genuinely the whole routine. It costs nothing beyond a bit of soap and a few extra minutes, and it's the difference between a mitt that lasts a season and one you're tossing after a month.
For the full picture on choosing and using a mitt in the first place, our complete tanning mitt guide covers technique alongside care.
I still keep that hook by my shower. My mitts last considerably longer for it, and I haven't found another orange-tinged one forgotten in a drawer since.
Shop Soleau Tanning Cream →Frequently Asked Questions About Cleaning a Tanning Mitt
Can I put my tanning mitt in the washing machine?
Yes, most fabric mitts handle a delicate machine cycle on cold water inside a mesh laundry bag. Rinse off any excess tanner by hand first, and never put it in the dryer.
How often should I wash my tanning mitt?
Rinse it under warm water after every single use. A deeper wash with soap once a week, or every few uses if you tan less often, keeps old product from building up in the fibers.
Can I use regular soap to clean a tanning mitt?
A mild soap or gentle laundry detergent works fine. Skip harsh soaps or anything with bleach, since they can break down the fabric and shorten the mitt's life.
Why does my tanning mitt still smell after washing?
DHA residue can sit deep in thick pile fabric. Try a second soak in warm water with a drop more soap, and let it dry completely in open air rather than a closed drawer.
How long does a well-maintained tanning mitt last?
A quality fabric mitt lasts three to six months of weekly use if you rinse it every time and wash it properly once a week. Skip that routine and you'll likely replace it within a month.