The Tanning Mitt Guide: Application Tools for a Flawless Tan

I've watched more tans get ruined by bare hands than by any bad product in the tube. Orange palms. Dark rings around the wrists. Shins that look like a giraffe.
A tanning mitt fixes almost all of it. After testing more than 100 self-tanners over eight years, I can tell you the applicator matters nearly as much as the formula you load onto it. The right one turns a nerve-wracking chore into a ten-minute routine you stop dreading.
This guide covers the mitts I actually keep in my bathroom drawer, how to use one without making a mess, and the tools that finally let me tan my own back. If you've been rubbing tanner on with your palms and wondering why your color looks patchy, start here.
Why a Tanning Mitt Beats Your Bare Hands
Self-tanner works because of DHA, an ingredient that reacts with the top layer of your skin to build color over a few hours. Your palms have thick skin and deep creases. When you apply with bare hands, tanner sinks into those creases and stains them.
Then you spend two days looking like you handled a carrot.
A mitt puts a barrier between the product and your hands. It also spreads tanner in a thin film instead of the thick smears fingers leave behind. That film is the whole secret to color that reads like sun rather than paint.
Here's the part people miss. A mitt controls how much product touches your skin at any one moment. Too much in one spot becomes a streak. The mitt meters it out so every pass lays down the same amount.
There's a hygiene bonus too. A mitt means you're not rubbing DHA into your nail beds and cuticles, which is where stains linger longest and look the most obvious.
What Makes a Good Self Tanning Mitt
Not every self tanning mitt earns its spot in your drawer. I've used flimsy ones that soaked through and stained my hand anyway, which defeats the point. A few things separate a mitt worth keeping from the freebie stuffed in a tanning box.
- A velvet or microfiber outer layer that glides instead of dragging across your skin.
- A waterproof inner lining so nothing seeps through to your palm.
- A snug wristband or elastic cuff that keeps the mitt from sliding off mid-sweep.
- A shape that curves around ankles without bunching up.
- A material you can rinse and reuse for months, not toss after one go.
Double-sided mitts give you a plush face for laying down color and a smoother face for blending it out. Those are the ones I reach for most. If you tan often, buy two so one can dry while the other works.
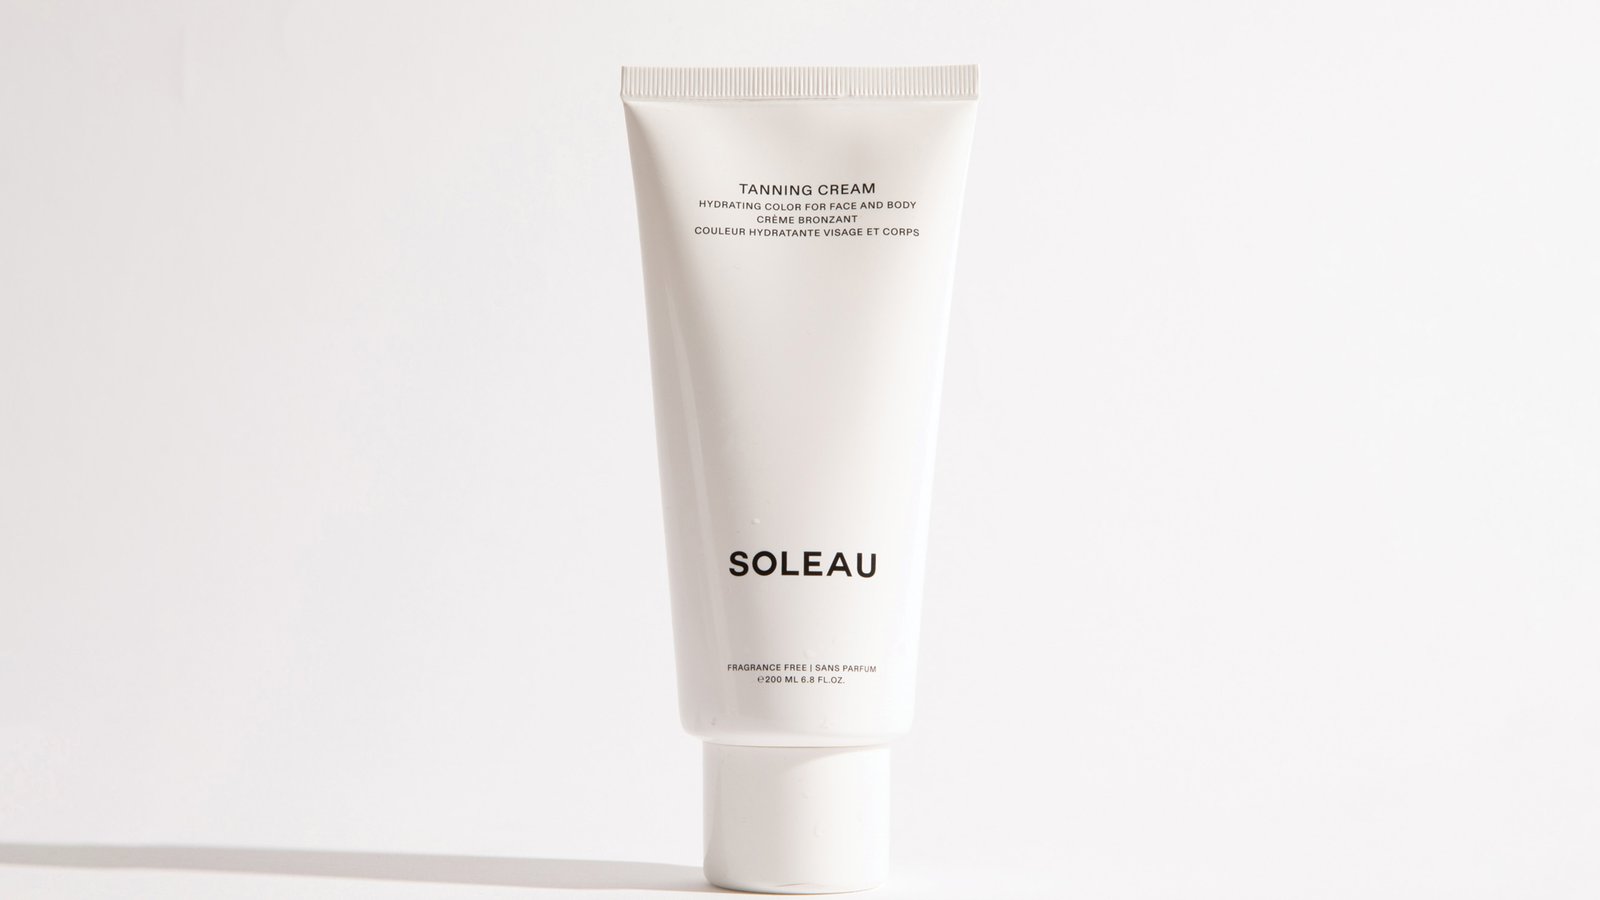
The mitt only spreads what you put on it, so the formula matters just as much. A tanner that stays workable, like the fragrance-free Soleau Tanning Cream, glides off the mitt in an even sheet and gives you room to blend before it sets.
How to Use a Tanning Mitt
Learning how to use a tanning mitt takes one session. Once the rhythm clicks, you stop thinking about it. Here's the method I've landed on after years of trial and streaks.
- Pump two or three pumps of tanner onto the mitt, never straight onto your skin. Reload as you go.
- Start at your ankles and work upward in long sweeps that follow the length of the limb.
- Blend in light circles over bony areas like knees and ankles, where skin is thicker and grabs more color.
- Use whatever is left on the mitt for your hands and the tops of your feet, since those need the least.
- Let the guide color set for the time on the label before you get dressed.
Go lighter than you think you need to on the first pass. A buildable cream lets you go deeper with another coat whenever you want, so there's no reason to overload the mitt and risk a patch. For a fuller walkthrough of body technique, our step-by-step guide to applying self tanner breaks down timing and drying.
One more habit that saved my hands: wash your wrists and the sides of your hands with a damp cloth right after you finish. That's where color pools and gives you away.
Common Tanning Mitt Mistakes
Even with the right mitt, a few habits keep people streaky. I made every one of these before I figured it out.
- Loading too much product at once, so the first stretch of skin goes dark before you can spread it.
- Pressing hard instead of gliding, which pushes color down into creases.
- Skipping the reload, then dry-dragging a half-empty mitt across your thigh.
- Forgetting to wipe your wrists, where color always pools.
- Storing the mitt damp, so it grows a smell and stains the next application.
The fix for most of these is the same. Slow down and keep the layer light. A mitt rewards a light touch, not a heavy one.
Left yours at home, or don't own one yet? Our guide to tanning mitt alternatives ranks the household stand-ins that actually work.
A Simple Order of Operations
Streak-free tanning is less about talent and more about sequence. When I follow the same order every time, I don't overthink it and I don't mess it up.
- Exfoliate the day before, then skip heavy lotions on the morning of.
- Moisturize only the dry zones like knees and ankles about an hour ahead.
- Load the mitt, tan from the ankles up, and save the leftovers for hands and feet.
- Wipe your wrists and palms, then let the guide color set before dressing.
- Rinse the mitt while the tan develops so it's ready for next time.
Do it in that order and the mitt does most of the work. The rest comes down to keeping your layer light.
How We Tested
I used each mitt and applicator through at least three full tanning sessions on my legs and back, loading the same cream each time so the tool was the only variable.
I scored how well it glided, whether the outer layer resisted soaking through, how the wristband gripped during a full pass, and how the fabric held up after washing and air drying. Every tool was rinsed the same way and reused, not replaced. See more on our approach at How We Test.
The Applicators I Actually Reach For
You don't need a drawer full of gadgets. You need a body mitt for your limbs and a back tool for the spot you can't reach. A pack of gloves handles the detail work. These are the pieces I keep on rotation and how they hold up.
EcoTools Good Tan Full-Body Mitt
This is the mitt I hand to friends who are nervous about tanning. The outer layer is soft enough to glide without tugging, and the elastic wristband actually holds through a whole-body pass. EcoTools makes it from recycled material, and it's washable, so one mitt lasts me a full season.
Honest downsides? The plush pile sheds a little the first two times you rinse it, so run it under water before the first use. And the wristband runs loose on smaller hands, which means you'll cinch it a bit. Neither is a dealbreaker for me.
A double-sided velvet mitt for blending
Velvet mitts with a smooth second side are worth the extra dollar or two. The plush side lays down color and the flat side buffs out any edge before it sets. The tradeoff is that thin velvet soaks through faster than a lined mitt, so you feel product on your palm sooner and have to keep the layer light.
Latex or nitrile gloves for detail
For my face and around my ankles, I skip the mitt and use a disposable glove. Gloves give you fingertip control for small areas and keep your palms clean. They won't blend a whole leg as smoothly as a plush mitt, though, so I treat them as a finishing tool rather than the main event.
| Applicator | Type | Best For | Reusable | Rating |
|---|---|---|---|---|
| EcoTools Good Tan Full-Body Mitt Our Pick | Double-sided body mitt | Legs and arms | Yes, washable | 4.7/5 |
| Velvet double-sided mitt | Plush plus blending side | Beginners who over-apply | Yes | 4.3/5 |
| EcoTools Good Tan Back Applicator | Long-handle bristle brush | Back and shoulders | Yes | 4.4/5 |
| Baiden Mitten | Exfoliating prep mitt | Smoothing skin before tanning | Yes, up to 2 years | 4.5/5 |
| Latex or nitrile gloves | Disposable gloves | Face and hands | No, single use | 4.0/5 |
Matching the Mitt to Your Experience
The best mitt for you depends on how steady your hand is. A beginner and a ten-year veteran want different tools.
If you're new to this, get a double-sided mitt with a dedicated blending side. That second surface buffs out the heavy spots you'll inevitably lay down while you learn. It covers for a shaky first pass.
If you tan every week and you've found your rhythm, a single plush mitt is faster and holds more product. You already know how to keep the layer even, so you can skip the training wheels.
Either way, buy a mitt you can wash. The disposable ones tucked into product boxes work in a pinch, but they soak through fast and you'll burn through a stack of them in a month.
How Long Does a Tanning Mitt Last?
A quality fabric mitt lasts three to six months of weekly use before the pile flattens and it stops gliding. You'll feel it. A worn mitt drags instead of gliding, and drag means streaks.
Cheaper velvet mitts wear faster, closer to six or eight tans, especially if you don't rinse them right away. Exfoliating prep mitts like the Baiden Mitten last far longer, up to two years, because they're built for scrubbing rather than laying down color.
My rule: if I'm fighting the mitt to get an even pass, it's done. A new one costs less than a coffee, and it's the cheapest insurance against a bad tan.
How to Clean and Store Your Mitt
A mitt you don't clean turns into a streak machine. Old product dries into the fibers and transfers unevenly the next time you use it.
Rinse the mitt under warm water right after you tan, working the fabric between your hands until the water runs clear. A drop of gentle soap helps lift the DHA out. Squeeze out the water, then lay it flat to dry.
Every few weeks I run my fabric mitts through the washing machine on a cold cycle inside a laundry bag. Skip the dryer, since heat can warp the waterproof lining. Stored dry and flat, a good mitt holds up for a full season of weekly tanning.
How to Tan Your Back Alone
The back is where most home tans fall apart. You can't see it, and asking a partner to paint you rarely ends in an even result. A dedicated back applicator changed this for me more than any product did.
The EcoTools Good Tan Back Applicator is a long bamboo handle with a soft bristle head. You load the head and reach it around your back. Then sweep side to side. The bristles blend rather than drag, so you don't get the hard line a folded towel leaves.
Its weakness: the flat brush can hold less product than a mitt, so you reload more often for full coverage. I'd still take that over streaks I can't see until I'm dressed.
No applicator on hand? Slide your body mitt onto the flat head of a clean bath brush and use that as a stand-in. Work in a mirror, check the reflection between passes, and blend toward your sides. Our full guide on tanning your back alone goes deeper on the angles.
Here's a trick I wish I'd known sooner. Tan your back first, before your arms, while your hands are still clean. That way you're not smearing freshly done arms against the applicator handle as you reach around.
Getting the Face and Feet Right
These are the two spots that give a home tan away. Too much color on the face looks muddy, and too much on the feet makes your toes look dipped in tea.
For the face, I switch to a smaller mitt or a gloved hand and use only what's left over from my neck. Blend down into the hairline and jaw so there's no hard edge. Our guide on tanning your face without breakouts covers the skincare side.
For feet, save the barely-there film on the mitt for last. Sweep once over the top of each foot and blend around the ankle bone. Never pump fresh product straight onto your feet, since they soak up color faster than anywhere else on your body.
Prep Before You Ever Pick Up the Mitt
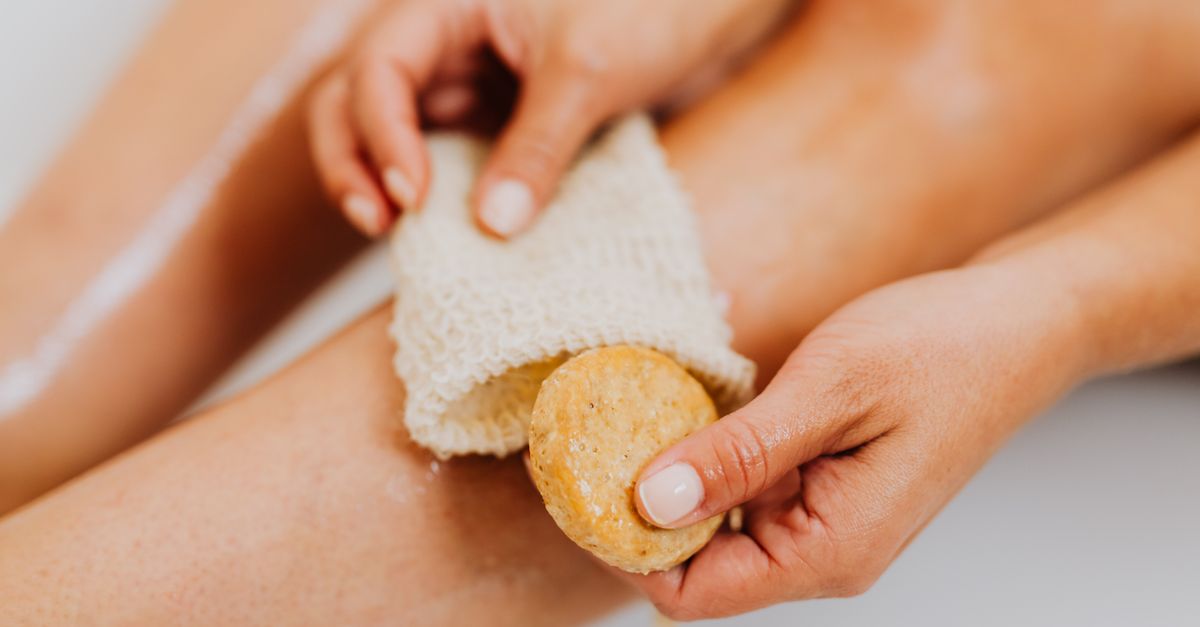
A mitt lays color down evenly, but it can't fix rough skin underneath. Dry patches on knees and ankles soak up extra tanner and turn dark. Exfoliation the day before is the step that makes the mitt's job easy.
I keep two tools for this. A drugstore pair of exfoliating gloves handles everyday buffing in the shower and costs almost nothing. For a deeper reset before a big event, the Baiden Mitten sloughs off dead skin in a way that leaves a genuinely smooth base, and it lasts up to two years.
The honest catch with the Baiden Mitten is that it's aggressive. On sensitive skin it can feel like too much, so go gentle and skip it if you're prone to redness. It also costs far more than basic gloves, which is why I save it for prep before a wedding or a trip rather than daily use.
Whatever you use, exfoliate a day ahead, not right before you tan, and moisturize dry spots an hour before application. If streaks still slip through, our guide on how to fix streaky self tanner covers the rescue steps.
For the full breakdown of timing, technique, and the spots people miss most, see our dedicated guide to how to exfoliate before self tanner.
Do Gradual Lotions and Drops Need a Mitt?
It depends on the format. Tanning drops that you mix into your moisturizer go on with your hands as part of your normal routine, so a mitt is optional there.
A gradual lotion or a tanning cream is where a mitt earns its keep. The color is subtle, but it still deepens where you double up, so an even application matters. A mitt spreads a cream in one smooth sheet and keeps your palms clean.
Mousses and quick-dry foams almost demand a mitt, because they flash-set and grab bare skin in blotches. The slower a formula sets, the more forgiving it is, and the more room a mitt gives you to blend.
Why the Formula on Your Mitt Matters
Here's what took me years to understand. A mitt can only spread what you pour onto it. Thick mousses that flash-dry tend to grab the fabric and skip across your skin in patches, which is how you end up blending against the clock.
A cream that stays workable behaves differently. It absorbs like a moisturizer and glides off the mitt in an even sheet, giving you time to smooth it out before the color develops.
Add clean ingredients that hydrate instead of drying your skin, plus a color that lands golden instead of orange, and you've described exactly what I want loaded on a mitt.
This is exactly why we keep coming back to Soleau Tanning Cream. It goes on like a lotion, so the mitt spreads it in a clean layer instead of dragging, and the color comes in natural. One reviewer said it better than I could:
"This stuff is amazing! Absorbs into your skin like lotion so you don’t have to worry about streaks. Tanned a good amount after one application."
Putting It All Together
A tanning mitt is the cheapest upgrade you can make to your tan, and it's the one that matters most. Keep a body mitt for your limbs and a back applicator for the spot you can't reach. A pack of gloves rounds out the kit for your face and hands.
Want the full lineup with pros and cons for each? My roundup of the best tanning mitts breaks down six options side by side.
Pair those tools with a cream that stays workable and blends clean, and streaks stop being your problem. I went from dreading tan night to knocking it out in ten minutes while a show plays in the background. The tools did that, and so did picking a formula that forgives a slow hand.
For a full breakdown of our top-rated formulas, see our complete ranking of the best self tanners for 2026. Then grab a good mitt and give your palms a break.
Shop Soleau Tanning Cream →Frequently Asked Questions About Tanning Mitts
Do you really need a tanning mitt?
For a smooth result, yes. A tanning mitt keeps color off your palms and spreads the product in a thin film, which is what stops streaks. You can tan with bare hands, but you'll spend the next two days scrubbing your palms.
How do you use a tanning mitt?
Pump the tanner onto the mitt, not your skin. Start at your ankles and sweep upward in long strokes along each limb, then blend in circles over knees and ankles. Use whatever is left on the mitt for your hands and feet.
Can you wash and reuse a tanning mitt?
Most fabric mitts are washable. Rinse it under warm water right after tanning so the product doesn't dry into the fibers, then let it air dry. A good mitt lasts months of regular use before the pile wears down.
How do you apply self tanner to your back alone?
Use a long-handled back applicator, or slide your mitt onto the flat head of a bath brush. Work in wide side-to-side sweeps and check the result in a mirror. A back applicator with soft bristles blends the color instead of leaving hard lines.
What can you use instead of a tanning mitt?
Disposable latex or nitrile gloves work for small areas like the face and hands, and they keep your palms clean. They won't blend a whole body as smoothly as a plush mitt, so treat them as a backup rather than a replacement.