How to Build a Gradual Tan: Layering Self Tanner for Your Perfect Shade

 Save to Pinterest
There's a temptation when you first pick up a self tanner to pile it on thick and hope for the best. One heavy application, let it develop overnight, and emerge with a deep golden glow. It sounds efficient. In practice, it's the fastest route to streaks, an uneven finish, and color that looks applied rather than earned.
The real secret to a natural-looking, deeply satisfying self tan isn't any single perfect application — it's layering. Building your color gradually, the same way sun exposure naturally deepens a tan over days, is what separates results that fool people from results that don't.
Here's exactly how to do it — from the first application through maintenance, with the technique adjustments that make each layer smoother than the last.
Why Layering Beats One Heavy Application
When you apply self tanner once and expect an instant deep result, you're working against how the product actually functions. Self tanner's active ingredient, DHA (dihydroxyacetone), reacts with amino acids in the outermost dead cell layer of your skin to produce color.
The amount of color that develops from any single application is limited by the number of reactive sites available in that surface layer — there's a natural ceiling.
Push past that ceiling by applying more product in one session and you don't get more color — you get more risk. Uneven application becomes exaggerated, dry patches absorb excess product and go darker, and transitions at wrists, ankles, and the hairline look harsh rather than blended. More product per application correlates directly with more things that can go wrong.
Layering works because it follows the natural rhythm of your skin. Each fresh application adds color to a new surface as the previous layer settles. As old cells shed and color fades slightly, you top it up and build.
The resulting tan is translucent and multi-dimensional rather than flat and uniform — exactly how a real sun tan looks, built up over days at the beach rather than applied all at once.
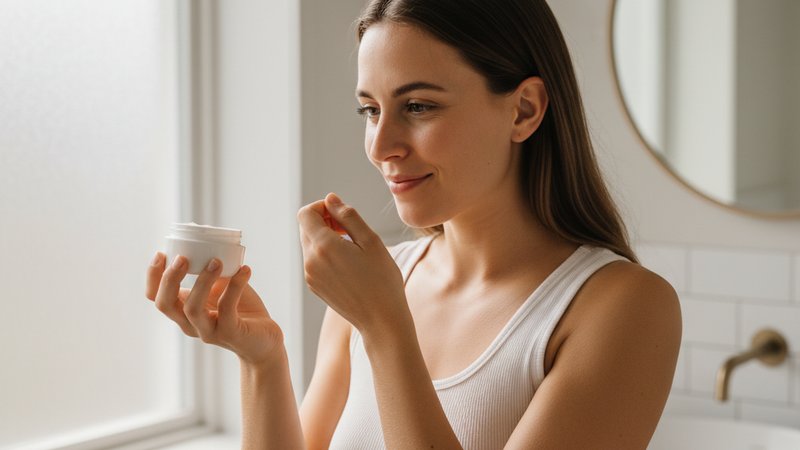
Choosing a Formula Made for Building Color
Not every self tanner is well-suited to gradual layering. Formulas designed for a fast, dark result tend to use high DHA concentrations that develop quickly and intensely — which leaves less room to adjust and makes layering harder to control.
What you want for building is a formula with a lighter, more gradual DHA concentration and a moisturizing base that won't disturb previous color when you reapply.
Hydration matters especially here. Every new application involves contact with skin that's already carrying color. A formula that deposits moisture as it tans protects existing layers while new color develops on top. A drying formula can lift and streak previous color, undoing the work you've already done.
This is why we recommend starting with a clean, hydrating formula like Soleau Tanning Cream — it moisturizes deeply while it tans, so each new layer applies smoothly over the last without lifting or disrupting it. The gradual build is exactly what it was designed for.
How to Prep Your Skin Before Each Layer
Good skin prep before the first application is self-tanner 101. But prep for layering has a few additional considerations that most guides skip over.
Before Application 1: This is where the real investment happens. Exfoliate thoroughly 24 hours in advance — not immediately before, which sensitizes the skin barrier. Focus on elbows, knees, ankles, shins, and anywhere skin tends to accumulate dead cells. Moisturize the evening before your first application, then apply your first layer the following morning on clean, fully dry skin.
Between Layers: You do not need to exfoliate before every subsequent application. In fact, scrubbing between layers removes the color you've already built. Instead, moisturize daily — morning and evening — to keep your tan fading evenly and skin receptive to the next layer. A gentle, non-exfoliating body lotion is ideal.
Exception: If you notice any patchiness or uneven fading before a planned reapplication, a very light exfoliation on only those spots — followed by moisturizer, then product — can level things out before you add the next layer.
Always apply to clean, dry skin. If you've just applied moisturizer, wait at least 30 minutes for it to fully absorb before putting on self tanner. Damp or freshly moisturized skin causes uneven product uptake.
The Layering Schedule: Day by Day
Here's a practical build schedule that takes you from bare skin to a rich, believable tan over five days.
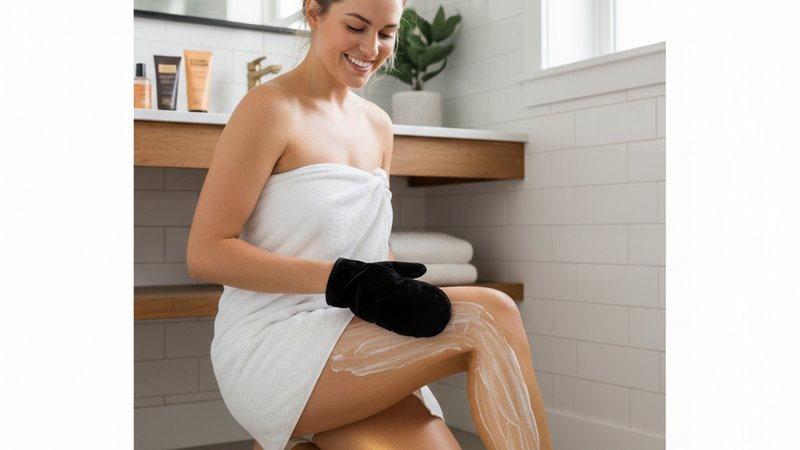
Day 1 — First application. Apply evenly head to toe using a tanning mitt. Work in long, circular strokes and spend extra time blending at every transition: hairline, wrists, ankles, between fingers and toes. Less product is better here — your goal is a sheer, perfectly even base, not visible color on day one.
Day 2 — Rest. Moisturize morning and evening. Don't apply another layer yet. Let the DHA reaction fully complete and the color settle before building on top of it. Patience at this stage pays off in evenness later.
Day 3 — Second application. By now your first layer should be visible — a light, warm golden tone. Apply your second layer over it exactly as you did the first. Blend carefully at the same transition points. You'll notice a meaningful shift in color depth after this one.
Day 4 — Rest and assess. Moisturize as usual. Evaluate your color. If you've reached your ideal shade, you can stop here and move into maintenance mode. Many people are genuinely happy with two layers — it produces a natural, believable warm tone without going dramatically dark.
Day 5 — Third application (optional). This is where most people hit their deep, ideal shade. A third layer typically produces the kind of rich, sun-drenched color that reads as genuinely earned rather than applied. Apply the same way, blend the same spots, moisturize the same evening.
How to Maintain Your Glow Once You've Hit Your Perfect Shade
Once you've built to your ideal depth, the goal shifts from building to preserving. Maintenance is simpler than the build phase — just a few consistent habits.
Moisturize every single day. This is the non-negotiable. Well-hydrated skin sheds cells evenly, which means your tan fades gracefully and uniformly rather than in patches. Dry skin leads to uneven shedding, which leads to patchiness — the outcome everyone fears most. Keep skin hydrated and it fades the way it built: evenly.
Reapply every four to five days, not every day. Once you've hit your ideal shade, daily applications will keep deepening your color past where you want it. Switch to a maintenance rhythm: one application every four or five days to replace color as it naturally fades. This keeps you at a consistent depth rather than ever-escalating.
Give product a full development window. After each maintenance application, allow six to eight hours before showering. Most of the DHA reaction completes within this time. Rinsing earlier cuts the reaction short and produces lighter-than-expected results — which leads to reapplying too soon, which leads to over-darkening. Consistent timing means consistent color.
Shorter, cooler showers. Hot water strips moisture from skin faster than warm water, accelerating fading. It seems like a small thing but makes a real difference in how long each application holds its depth. You don't need cold showers — just dial back the temperature slightly.
Preventing Patchiness When Layering
Building color over multiple sessions increases the consequences of technique slip-ups — unevenness from one layer can compound across the next. These habits prevent it:
Use a tanning mitt every time, without exception. Bare hands create uneven distribution. On a second or third layer over existing color, those variations become clearly visible. A mitt gives you controlled, even coverage every time.
Blend in slow, circular motions at every transition zone. Hairline, where arms meet hands, where legs meet feet, the backs of knees — spend extra time at these spots on every application. Rushed blending at transitions is the most common source of visible lines.
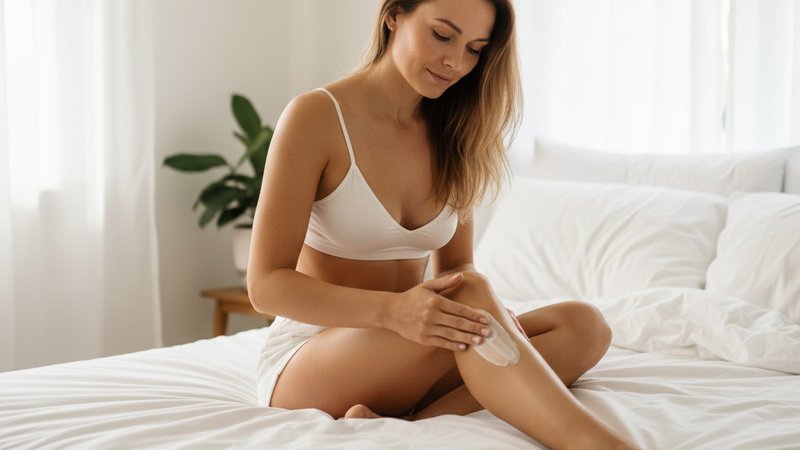
Apply to slightly moisturized patches. If any area of your body has genuinely dry, rough skin, dab a thin layer of unscented lotion on just that spot about 30 minutes before applying self tanner. Let it absorb fully. This creates a more even surface for product uptake and prevents those spots from going dramatically darker.
Don't rush. The most common layering mistake is applying a second coat quickly over an uneven first layer and compounding the original problem. Check coverage in good light, take your time, and blend until there are no visible demarcation lines before moving on.
What Real Women Say About Building Color Over Time
The reviews for Soleau Tanning Cream are full of women who've discovered the layering approach and won't go back to any other method:
"Used daily it gradually gets darker just like I've been on the beach every day! I've tried many self tanners, Soleau is the most natural looking tan, no fragrance at all."
— Christina S., verified buyer
"Love this tanning lotion. It doesn't smell and gives me a beautiful, natural tan that I can continue building darker."
— Julie H., verified buyer
"Great for layering color daily. Moisturizing and natural-looking!"
— Lynn S., verified buyer
What stands out across those reviews is the combination of gradual, natural-looking color and genuine moisturizing quality — exactly what you want from a formula designed to be layered. When the base is hydrating enough, each new coat goes on as smoothly as the first.
The Bottom Line on Building a Gradual Tan
The secret to a believable self tan isn't finding the strongest formula and applying it once. It's choosing a buildable, moisturizing formula and layering it thoughtfully over three to five sessions to reach the exact shade you want — then maintaining it with daily hydration and consistent reapplication every few days.
The process is less complicated than it sounds: a few minutes of application every other day, with daily moisturizing in between. And the result — a tan that looks like you spent a week somewhere warm rather than an evening in your bathroom — is worth every step.
For a full comparison of which self tanners perform best for gradual building and everyday use, see our complete ranking of the best self tanners for 2026.
Shop Soleau Tanning Cream →