How to Exfoliate Before Self Tanner

I skipped exfoliating exactly once, in a rush before a weekend trip, and paid for it with two dark patches on my knees that lasted a full week. Lesson learned the hard way.
Knowing how to exfoliate before self tanner is the single biggest factor separating a believable tan from a streaky one. It takes five extra minutes. Skip it and you're gambling with a result you'll be stuck wearing for days.
Why Exfoliating Actually Matters
Self-tanner reacts with dead skin cells sitting on the surface of your skin, not the fresh cells underneath. Dead skin builds up unevenly across your body, thicker at your elbows and knees than anywhere else, with ankles close behind.
Skip the exfoliation step and the tanner grabs that extra buildup first. The result is darker patches exactly where you didn't want them, while smoother areas develop a lighter, more even shade right next to them.
Old, fading self-tanner compounds the problem. It sits on top of your skin in uneven layers, and new product piles on top of that instead of reaching clean skin underneath.
When to Exfoliate
Same day, a few hours before you apply, is the sweet spot. Your pores are open right after exfoliating, which helps the tanner absorb evenly.
Exfoliating a full day or two ahead of time lets your pores close back up before you apply, and it gives new dead skin cells time to resurface in patches. Both work against the even result you're after.
I exfoliate in the shower right before I towel off and tan, and it's the routine that's given me the most consistent color over years of testing dozens of formulas.
The Right Way to Exfoliate
Skip harsh scrubbing. It irritates skin and can leave micro-scratches that grab tanner unevenly, which defeats the entire point.
Use gentle, circular motions instead. A tanning mitt or exfoliating glove works best for this specific job, since it buffs away dead skin without any oil residue left behind.
- Wet your skin first in a warm, not hot, shower
- Work in small circles, spending extra time on elbows and knees
- Rinse thoroughly so no product residue remains on your skin
- Pat dry instead of rubbing, which can re-irritate freshly exfoliated skin
Our full tanning mitt guide covers which mitt materials work best for this step if you don't already own one.
Mitt, Scrub, or Dry Brush
All three tools get the job done. They don't all get it done the same way, and picking the right one for your skin matters more than the brand you buy.
An exfoliating mitt is my default recommendation. It's reusable, doesn't require rinsing a product off first, and works equally well on wet or dry skin. The trade-off is a slightly higher upfront cost compared to a scrub, though it pays for itself after a handful of uses.
A sugar or salt scrub feels more like a spa treatment, and plenty of readers prefer that ritual. St. Tropez's Prep & Prime Body Polish is a solid oil-free option built specifically for pre-tan skin.
The tub packaging gets messy fast once your hands are wet, which is a trade-off some people accept and others find annoying.
Whatever scrub you pick, check the label for oils first. Coconut, jojoba, almond, and avocado oil all show up in scrubs marketed for exfoliation, and every one of them leaves the barrier film that blocks even color.
Dry brushing is the fastest option and the one I reach for on a rushed morning. You brush before you shower, then rinse off the loosened skin in the water. It's less thorough than a mitt on rough patches like elbows, but it takes under two minutes and needs no product at all.
Want specific product picks instead of just the categories? Our roundup of the best exfoliators before self tanning ranks the mitts, scrubs, and brushes we actually reach for.
What About Chemical Exfoliants?
AHA and BHA products, the glycolic and salicylic acid treatments most people use for their face, work differently than a physical scrub. They dissolve the bonds holding dead skin cells together instead of buffing them off by hand.
They can work on the body too, but timing matters more here than with a mitt. Chemical exfoliants need a full 24 hours to finish their work and for your skin's pH to settle back down before you add a tanner on top.
I don't recommend combining the two methods on the same day. A chemical treatment already leaves skin slightly more reactive, and a physical scrub on top of that is more likely to cause irritation than to improve your results.
What to Avoid
Oil-based scrubs and body washes top the list. They leave a thin film on your skin that acts as a barrier, blocking the tanner from developing where it lands.
Heavily fragranced products are a close second. They're more likely to irritate skin that's about to be covered in an active ingredient for hours, and the two scents rarely mix well anyway.
Shaving and exfoliating on the same day is another common mistake. Both open your pores, and doing both back to back raises your odds of irritation right before you apply a product that's going to sit on your skin overnight.
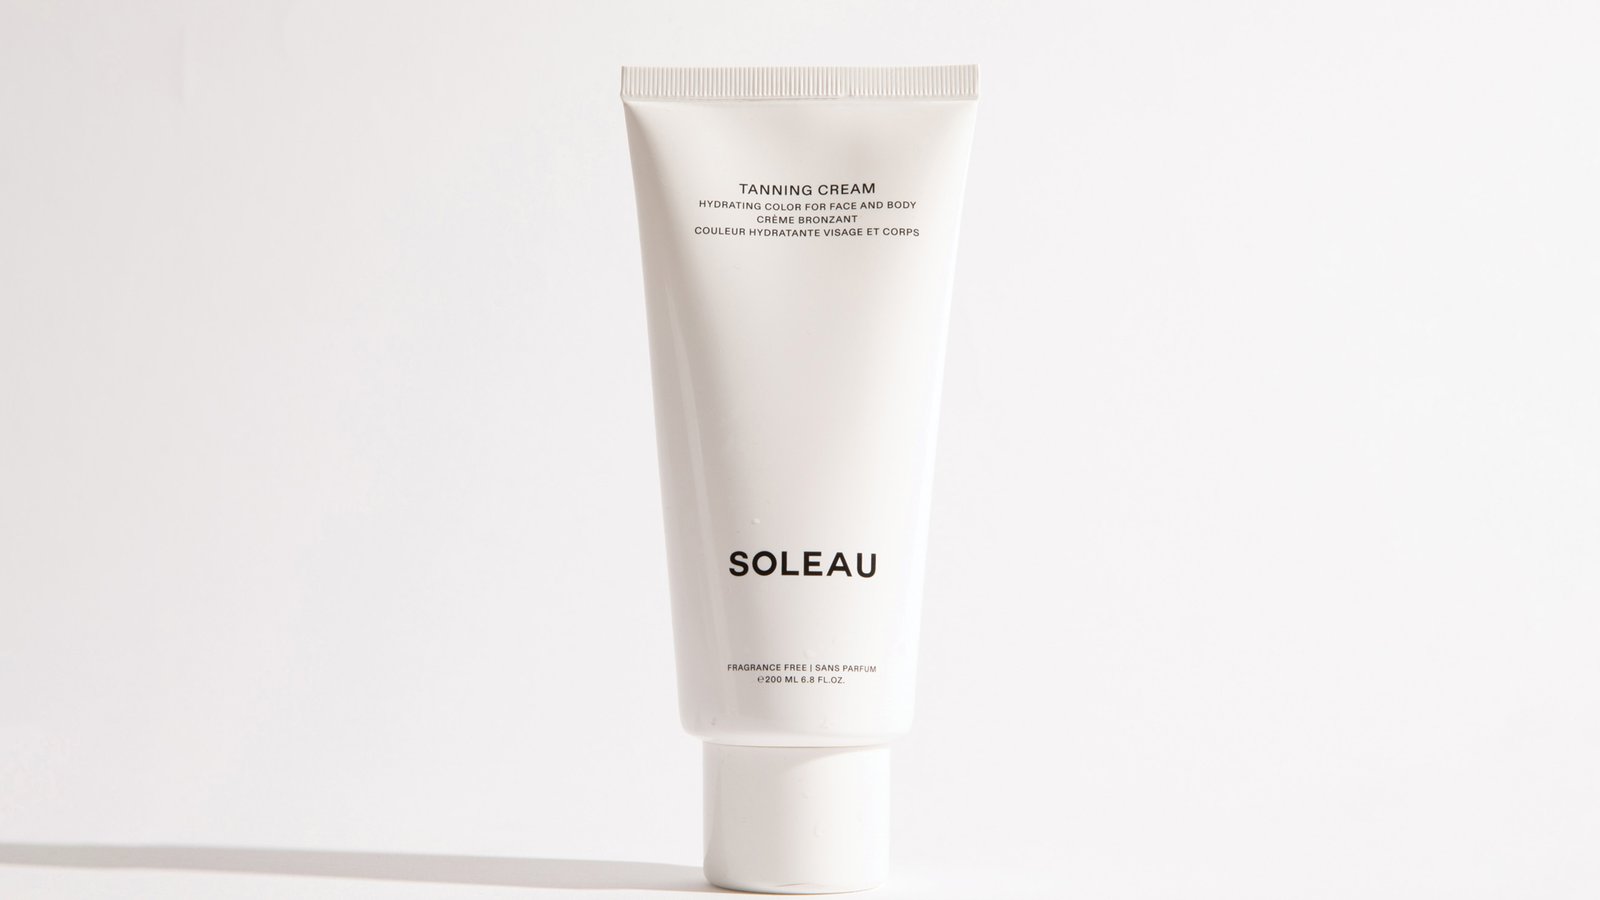
This is exactly why we recommend pairing your prep routine with a formula built to forgive small mistakes, like Soleau Tanning Cream, since its cream base blends more evenly over slightly imperfect prep than a fast-drying mousse or spray does.
"I prep my skin to remove dead skin. Apply Once daily to build as much color as I want. No streaks no orange, dries quickly."
Areas People Always Miss
Elbows and knees get the attention they deserve most of the time. A few spots get skipped even by people who exfoliate regularly.
Ankles and the tops of feet build up dead skin fast, especially if you wear closed shoes all week. Hands need a light pass too, though skip the palms entirely since they don't need color and grip a tanner hard if you don't wash them after applying.
The back of your neck and hairline collect dead skin from shampoo residue and often get missed in a quick shower routine. A light pass there prevents the collar-line demarcation that gives away a rushed application.
Your actual back is the hardest spot to exfoliate evenly on your own, for the same reason it's the hardest spot to tan evenly. Our roundup of the best back applicators covers tools that solve both problems with the same handle.
Exfoliating by Skin Type
Dry skin needs the gentlest possible pass. A mitt with light pressure removes what's necessary without opening skin that's already compromised, and a rich moisturizer the night before helps too, as long as you wash it off completely before tanning.
Oily skin can usually handle a firmer scrub without irritation, though the T-zone and back still deserve a lighter touch than your arms or legs. Excess oil on the day of application creates its own barrier problem, so a quick cleanse right before you tan helps here more than it does for drier skin types.
Sensitive skin does best with a fragrance-free scrub or a plain mitt, nothing with added exfoliating acids or beads that can sting on reactive patches. Patch test any new exfoliating product on your inner arm first, the same way you'd patch test the tanner itself.
Skin with keratosis pilaris, the small rough bumps some people get on their upper arms, needs repeat sessions rather than one aggressive scrub. I work on mine twice a week in the lead-up to a big tanning day instead of trying to fix it the night before.
Building This Into Your Routine
I keep my exfoliating mitt in the shower caddy, not tucked in a drawer somewhere I'll forget about it. Visibility matters more than any specific product you choose.
Set a reminder the first few times if exfoliating before tanning isn't already a habit. It stops being a conscious step after two or three applications, and by then the result speaks for itself.
If you're newer to self-tanning altogether and want the full picture beyond just this one step, our complete guide to tanning mitts and application tools walks through the entire process from prep to fade.
Once you've got the prep routine down, technique during application matters just as much. Our step-by-step application guide picks up exactly where this article leaves off.
And if you're using a mitt for exfoliating, keeping it clean matters for your next application too. Our roundup of the best tanning mitts covers which materials hold up best over repeated washes.
My Actual Routine, Step by Step
I shower around 4 p.m. on tanning days, well before I plan to apply anything that evening. That gap gives my skin time to fully dry and settle before I add a single product to it.
In the shower, I spend about ninety seconds on each leg with a mitt, working from ankle to thigh in small circles. Arms get maybe thirty seconds each, since the skin there is thinner and doesn't build up as much dead skin as legs do.
I skip a body wash entirely on exfoliation days. Soap residue can leave the same barrier problem as an oily scrub, so I rinse with water alone and let the mitt do the actual cleaning.
Out of the shower, I pat dry and wait a full hour before applying tanner. That hour used to feel like wasted time. Now I use it to catch up on laundry or just sit still, and my results are more consistent for the patience.
Why Good Prep Makes Your Tan Last Longer
A tan that develops on properly exfoliated skin doesn't just look better on day one. It fades more evenly too. Uneven buildup that grabs extra color early also sheds unevenly a week later, which is why patchy elbows on day one usually turn into ashy elbows by day five.
Starting clean also means your next exfoliation session has less old product to fight through. It's a small compounding effect, but reapplying every few days on properly maintained skin genuinely looks better over a full season than reapplying on skin you never fully clear between sessions.
A Simple Pre-Tan Checklist
Shower and exfoliate a few hours before you plan to apply, using gentle circles and an oil-free product. Rinse completely and pat dry.
Skip lotion and deodorant after this point. Perfume counts too, since any residue creates the same barrier problem as an oily scrub, just from a different source.
Wait until your skin is fully dry and cool before applying your tanner. Damp or warm skin absorbs product unevenly, undoing the careful prep work you just did.
Five minutes of the right prep saves you a week of uneven color. It's the cheapest insurance in your entire self-tanning routine, and it costs nothing beyond the mitt you probably already own.
I still catch myself wanting to skip it on a busy morning. The knee patches from that one rushed trip are enough of a reminder to stop me every time.
Shop Soleau Tanning Cream →Frequently Asked Questions About Exfoliating Before Self Tanner
How soon before self tanner should I exfoliate?
Same day works best, ideally a few hours before you apply. Exfoliating a full day or two ahead gives your pores time to close back up, which can make color grab unevenly.
Can I use a regular body scrub before self tanner?
Only if it's oil-free. Oil-based scrubs leave a film that blocks the tanner from developing evenly. A sugar or salt scrub without added oils works fine, or skip the scrub and use a mitt instead.
Do I need to exfoliate every time I self tan?
Yes, if you want even color. Skipping it lets old tan and dead skin build up in patches, and new product grabs onto those patches unevenly instead of your actual skin tone.
What happens if I don't exfoliate before self tanning?
You'll likely see darker patches at your elbows and knees, plus your ankles and any spot where old tan or dry skin was already sitting. It's the single most common cause of streaky results.