How to Fix Streaky Self Tanner (and Stop It Happening Again)

You applied your self tanner the night before. Went to bed feeling good. Woke up, walked to the bathroom, and there they were: stripes down both shins, a dark halo around your ankles, and a blotchy patch behind one knee that has no business being there.
I've been testing self-tanners for eight years and I've botched more applications than I'd like to admit. There was one hotel bathroom incident involving an unfamiliar formula and bad lighting that I'd rather not revisit.
The thing I've learned is this: knowing how to fix streaky self tanner is genuinely useful, because it happens to everyone, and the fix isn't usually that complicated.
This guide covers both sides: how to rescue a bad application right now, and how to stop self tanner streaks from forming in the first place. Start with the fixes if you're in crisis mode. Come back for the prevention section when you're ready for the next application.
Why Self Tanner Goes Streaky
Most people assume streaks are a technique problem. Rushed application, wrong direction, uneven pressure. Sometimes that's true. But a lot of streaky self tanner comes down to prep and formula, not the person applying it.
The Formula Is Doing Most of the Work (Or Not)
Thin, runny self-tanners move around on your skin. Watery drops, mists, and some mousses pool toward gravity, settle into creases, and start drying unevenly before you've had a chance to blend them. If you're getting self tanner streaks across multiple products and multiple attempts, the formula type is likely a big part of the problem.
Thick cream formulas are more forgiving. They stay where you put them instead of sliding toward your ankle. If your current self-tanner is on the thinner side, switching to a cream might be the biggest single improvement you can make. It's not a technique fix. It's a physics fix.
Prep Mistakes That Set Up Uneven Color
Dry, rough skin grabs more DHA than smooth skin. That's the whole reason knees, elbows, and ankles go dark: those spots have drier, thicker texture that absorbs more pigment per square inch. Apply on unexfoliated skin and you're working over a surface that's already uneven. The tanner will faithfully follow every variation.
There's also a timing issue. Exfoliating right before you tan (same day, same session) can cause its own problems. The micro-abrasions from fresh scrubbing absorb DHA faster than surrounding skin, which creates patchy spots in exactly the places you were trying to smooth out. Exfoliate the night before. Give your skin time to settle.
The Moisturizer Trap
Applied lotion to your knees and elbows right before tanning to prevent them going too dark? That's probably why those spots came out lighter than everywhere else. The lotion creates a barrier that blocks DHA absorption. People do this with good intentions and get the opposite problem.
Moisturize dry areas 24 hours before applying, not right before. The skin absorbs the lotion, the barrier effect fades, and your DHA absorption evens out.
How to Fix Streaky Self Tanner Right Now
You've already got stripes. Here's what works.
Body Oil Before Your Shower (Most Reliable Fix)
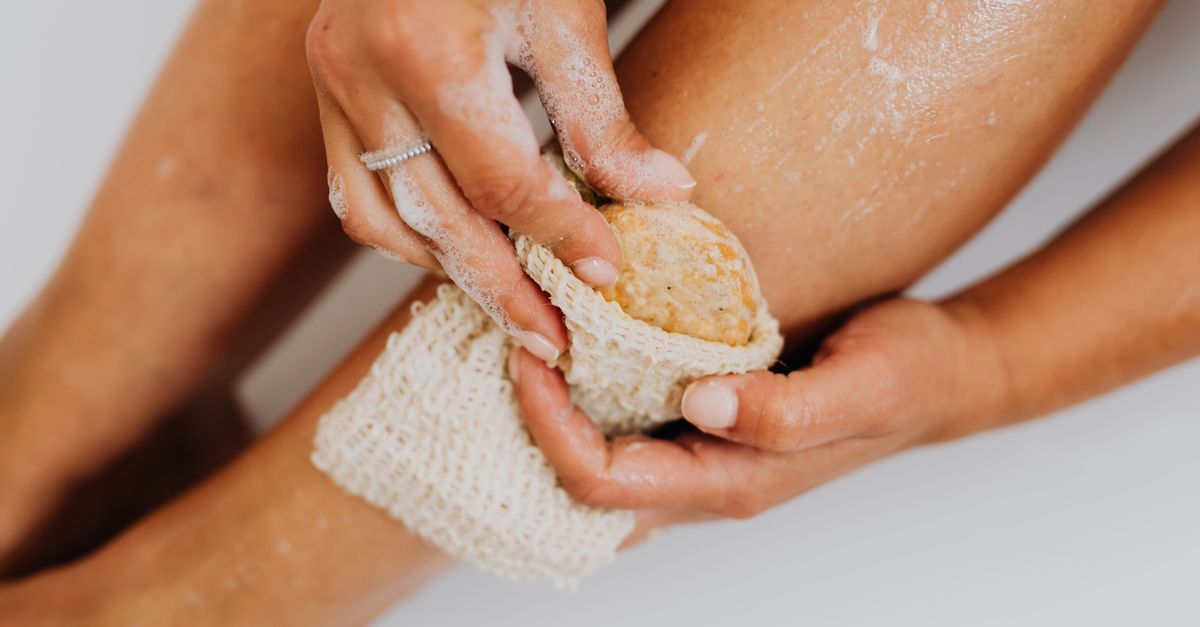
This is the method I reach for first. Before getting in the shower, apply body oil generously to the streaky areas and let it sit for 10 minutes. The oil breaks down the DHA bond and loosens the tanned surface cells. Then get in a hot shower and exfoliate those areas firmly with a scrub mitt.
The combination of oil, heat, and scrubbing removes far more self-tanner than exfoliation alone. Works well on streaks 12-48 hours old. For older, more set streaks, repeat it for a few days.
Exfoliate Right Away for Fresh Streaks
If your self tanner has been on for less than 24 hours, the DHA hasn't fully bonded yet. A firm scrub can pull a lot of it off.
Get into a hot shower, use a loofah or exfoliating mitt, and work the streaky areas in circular motions. Focus on the dark stripes and overdark edges rather than scrubbing the whole area.
You won't get it perfectly even. But you can soften the contrast enough that the uneven areas become much less obvious while the rest of the tan fades on its own. Follow up with moisturizer on the scrubbed spots to help the remaining color fade evenly around them.
Lemon Juice for Light, Fresh Streaks
For small, defined streaks like tide lines at the wrist or a dark edge at the ankle, lemon juice works. The acid breaks down DHA bonds faster than water alone. Apply fresh lemon juice directly to the streak, let it sit for two minutes, and rinse. Don't leave it longer than that, and skip this right after exfoliating or shaving.
This is best for minor fixes, not full-leg patchiness. For bigger jobs, stick with the oil-and-scrub method.
Heavy Moisturizer for Minor Streaks
If the unevenness is subtle, thick body lotion applied twice daily to the darker stripes is often enough. Moisturizer accelerates fade in over-tanned areas without disturbing the surrounding color. Within two or three days, the contrast flattens out.
It's the laziest fix. Also the gentlest. Good when you don't need a complete rescue, just an even fade.
For more severe cases, like a full-leg application that really went sideways, our guide to removing self tanner covers everything from light fading to complete removal across eight different methods.
One Thing Not to Do
Don't apply more self-tanner over a streaky tan. It never works. You're adding more uneven color on top of uneven color. Get the existing application as flat as you can before the next one.
This is exactly why I keep coming back to Soleau Tanning Cream. It's a thick cream formula that stays where you put it during application, and the hydrating base helps DHA absorb more evenly across different skin textures. People who've struggled with streaky self tanners from other brands tend to get noticeably better results with it right away.
Rhiannon, who found it through a Google search after trying several others, said it well: "No streaking, ZERO scent (mild one after not washing it for 8 hours but hardly noticeable), no blotching, it's perfect! Truly, and I'm not getting paid to write this review, I just loved it so much."
How to Prevent Streaky Self Tanner Next Time
Prevention is easier than the fix. Once these steps are part of your routine, self tanner streaks mostly stop being a thing.
Exfoliate the Day Before, Not the Same Day
This one trips people up. Exfoliating and tanning on the same day gives you patchy results even when you apply the product perfectly. The fresh abrasions from scrubbing absorb DHA faster than surrounding skin. Exfoliate 24 hours in advance instead.
Pay extra attention to knees, elbows, ankles, and wrists. These areas have drier skin that absorbs more pigment than anywhere else. After exfoliating, apply a thin layer of plain body lotion to just those spots. Not your whole body. Let it absorb overnight. This mild barrier slows DHA absorption at the problem zones without blocking your tan.
Work in Sections, Not Sweeping Motions
Self-tanner starts setting within a couple of minutes. If you're trying to do both legs in one big sweep, the product you started with is already half-set by the time you reach the ankle. You're not blending anymore; you're pulling already-dried tanner across your skin.
Work in smaller sections instead. One leg at a time: upper thigh down to knee, then knee to ankle, then blend the overlap between sections. Spend 30 deliberate seconds on ankles and wrists. Those spots almost always go patchy when you rush them. A full slow application takes five minutes more than a rushed one. Worth it every time.
Use a Mitt
I applied self-tanner with bare hands for years. The mitt felt unnecessary. Then I started using one and immediately got more even results. A tanning mitt creates flat, consistent pressure across your skin's surface. Your palm has creases, lines, and pressure variations that create inconsistent coverage without you realizing it.
The difference shows most on large flat areas like shins and forearms. A mitt gives a better first pass, which means less touch-up and blending afterward. It's not about technique. It's about the surface area doing the spreading.
Dilute at Joints
After applying to a main section, take a clean dry section of your mitt and lightly buff over the knee or elbow. This removes excess product from the crease without pulling up what you just applied.
Same goes for inner wrists and ankles. Any spot that bends, folds, or creases will trap more product than flat skin. A quick buff with a clean applicator moves the excess and prevents dark patches.
For a full walkthrough of how to apply self tanner from prep to finish, our step-by-step guide covers every body part including the ones most people rush.
Look at the Formula
If you've tried the technique adjustments and you're still getting uneven self tanner, the formula is likely part of it. Fast-setting products (thin mousse, drops) give you almost no working time.
Slow-developing cream formulas stay blendable longer. Formulas with hydrating ingredients already built in (aloe, hyaluronic acid, shea butter) also absorb more evenly because they're actively moisturizing the skin as the DHA sets.
Our best streak-free self tanner roundup covers five formulas we tested specifically for evenness, including what made each one easier or harder to apply.
One more thing worth checking if a formula that used to work suddenly goes patchy on you: how old is the bottle? Self tanner does go bad, and our guide to self tanner shelf life covers exactly what to look for.
The Short Version
Streaky self tanner is frustrating but rarely permanent. Fresh streaks respond to body oil and exfoliation. Older ones fade with consistent moisturizer on the dark areas. The whole problem is preventable once you sort out three separate things: prep timing, application speed, and formula choice.
The most reliable long-term fix is switching to a thick cream formula with enough working time to actually blend. Add proper prep (exfoliate 24 hours before, dilute at problem joints), take your time at the ankles and knees, and uneven self tanner mostly stops happening.
Your skin is supposed to look like you caught some sun, not like a rushed paint job. The right formula and a little patience in the application gets you there. For a full comparison of what's worth buying, see our complete ranking of the best self tanners for 2026.
Shop Soleau Tanning Cream →Frequently Asked Questions About Streaky Self Tanner
Can you shower to fix streaky self tanner?
Yes, if the tan is fresh (under 12-24 hours). Hot water plus active exfoliation can lift DHA before it fully bonds. After 24 hours, showering alone won't change much. You'll need body oil, a scrub mitt, and some patience over a few days.
How do I fix self tanner streaks on my knees and elbows?
These spots are tough because the skin is drier and absorbs more DHA than surrounding areas. For fresh streaks, scrub firmly with a mitt in a hot shower. For set streaks, apply body oil directly to the dark areas twice daily and scrub during your next shower.
They'll fade faster than surrounding skin within a few days. For future applications, always buff over joints with a dry section of your mitt after applying.
How long does streaky self tanner take to fade?
Without doing anything, uneven self tanner fades over 5-7 days as skin sheds dead cells on its own. With daily body oil and targeted scrubbing on the dark areas, you can compress that to 3-4 days. The goal is accelerating fade on the overdark spots, not stripping the whole tan.
Why does my self tanner always go streaky at my ankles?
Ankle skin is dry, thin, and creases easily. Self-tanner pools into those creases and absorbs more in the dry surrounding skin, creating a darker ring effect.
Use a small amount of product on ankles (a dime-sized amount is plenty), blend outward in all directions, and buff the whole ankle area with a dry section of your mitt after applying. It's one of those spots that needs specific attention every single time.
Should I exfoliate before reapplying over a streaky tan?
Yes, always. Reapplying over uneven color without exfoliating first just adds more layers to an already patchy base. Use body oil, exfoliate in the shower, moisturize, wait 24 hours, and start fresh on as even a surface as possible. It takes an extra day but the result is worth it.