How to Self Tan Your Legs Evenly (And Finally Get the Knees Right)

Legs are genuinely the hardest part of the body to self tan evenly. I've been testing self tanners for 8 years and I still pay more attention to my legs than anywhere else. Knees go dark. Ankles collect too much product. The shins streak.
And the back of the knee? If you've ever had a dark crease show up there the morning after, you know what I mean. This guide covers everything I've figured out about how to self tan your legs so they come out even and streak-free. No salon appointment required.
Why Legs Are More Difficult to Tan Evenly Than Other Body Parts
Your arms are easy. They're relatively smooth, not too much surface area, and you can see the whole thing while you're applying. Legs are a different challenge entirely.
First, there's the sheer size. You're covering a lot of ground, and with most self tanners, that means you need to work fast enough to blend before the product starts to set. Second, legs have problem zones that arms just don't have.
The kneecap is bony and dry with all kinds of surface variation. Shins have minimal fat underneath, so product can drag instead of glide. Ankles and heels grab at product like magnets. And the back of the knee is a crease that needs specific handling or you get dark lines.
Self tanner legs streaky results almost always come down to one thing: dry skin. When dead, parched skin cells absorb DHA (the active ingredient in self tanner), you get uneven color that looks blotchy within hours of washing it off. The good news is that this is fixable, mostly through prep.
The Prep That Actually Makes a Difference
Most people rush this part. Don't.
Exfoliate the day before, not the morning of
You want to remove the dead skin layer that pulls at self tanner unevenly, but if you exfoliate right before applying, your skin can still be slightly reactive and sensitive.
Exfoliating the day before gives your skin time to calm down while still leaving it smooth. Pay extra attention to the knees, ankles, and heels. Those spots accumulate dead skin faster than anywhere else on the leg.
A physical scrub works well here. I've used everything from drugstore sugar scrubs to a washcloth with body wash and they all do the job. The point is to get the rough surface off, not to use anything fancy.
Shave 24 hours in advance
Freshly shaved skin has micro-irritation and open follicles that can make self tanner look dotty or grainy when it develops. Give your skin a full day after shaving before you apply.
Same goes for waxing. I learned this the hard way when I shaved my legs right before a beach trip and applied self tanner the same afternoon. The result looked like light sandpaper. Not the vibe.
The moisturizer barrier trick
Before you apply your tanner, put a light layer of regular body lotion on your kneecaps, ankles, and the tops of your feet. Not a thick coat, just a thin one. Let it absorb for a minute or two.
This creates a barrier that dilutes the DHA slightly in those areas, which prevents them from grabbing too much color. This is the single most impactful change I made to my leg routine. Before I started doing this, my knees always came out noticeably darker than the rest of my leg no matter what I did.
Dry your skin completely before applying
Any moisture on your skin will dilute the tanner and cause patchy color. If you just got out of the shower, wait a full 10 minutes. Don't rush this. Slightly damp skin is responsible for a lot of uneven results that people blame on the product or their technique.
Choosing the Right Self Tanner Formula for Legs
Formula matters more for legs than for any other body part.
Mousse dries fast. That's usually sold as a benefit, but for legs it's a problem. Your legs are long. By the time you're working down your shin, the product on your thigh may have already started to set.
You end up with tide lines and uneven color, especially around the knee where you need extra blending time. Mousse can also feel dry on skin that isn't well-hydrated, which amplifies the grabbing problem on shins and ankles.
Cream formulas stay workable longer. That extra time gives you room to blend over a large surface area without rushing. Creams also tend to be more hydrating, which matters for legs. If you've been struggling with streaky legs and you've been using a mousse, try switching to a cream. It genuinely helps.
You want to tan your legs at home with a formula that has a clean ingredient list, meaning no alcohol high on the list (alcohol is drying), no heavy fragrance, and no bronzer that shows you exactly where the product is sitting but then fades while the DHA develops underneath. A pure, clean cream formula gives you the most control.
How to Self Tan Your Legs Step by Step
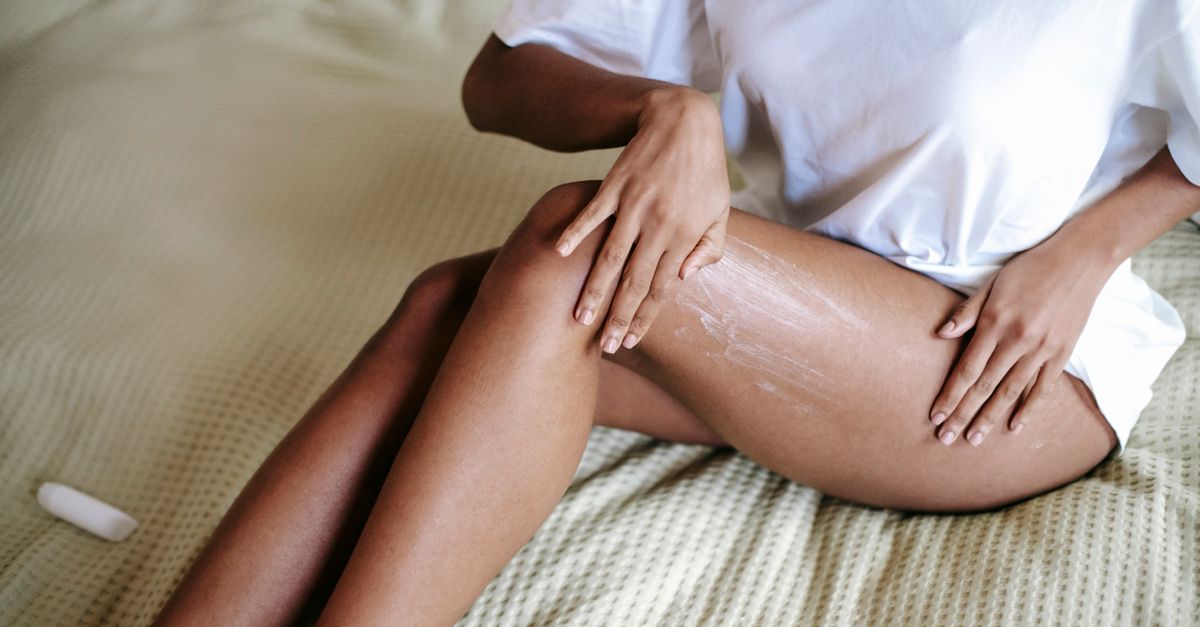
Use a tanning mitt. Not optional for legs. Bare hands leave fingerprints and uneven coverage that you won't notice until the color develops overnight. A mitt gives you smooth, even distribution.
Start at the ankle and work upward. Going from the bottom up means you're always blending into fresh skin above. Starting at the thigh and working down means you're pressing product back into areas you've already coated, which causes buildup and uneven color.
Use long upward strokes on the main parts of the leg. Shins and calves: long strokes from ankle to knee. Thigh: long strokes from knee to hip. Don't work in circles on the main body of the leg. Circular motions can leave swirls.
Treat the kneecap differently. Use a feathering motion rather than strokes. Press lightly and work in small circles from the center of the knee outward. Use noticeably less product here than on the rest of the leg. If you pre-moisturized the knee, even better.
Be careful at the ankle. Use just a small amount of product and blend inward toward the leg. Don't let product pool around the ankle bone or heel. I usually go over the ankle area last, with whatever's left on the mitt after I've done the rest of the leg.
Handle the back of the knee carefully. Bend your leg slightly (not fully bent) when you apply product to that crease. Then straighten your leg completely before the color develops. If you let the crease sit closed while the DHA is working, you'll get dark lines. Every time.
Don't forget the backs of your calves. You can't see them in the mirror. They're still visible when you're at the beach. Work the mitt around the whole circumference of the calf, not just the front-facing part.
After you're done, let your legs dry completely before sitting down, putting on pants, or getting into bed. Fifteen minutes minimum. Tight leggings or jeans while the tan is developing will lift the product unevenly and leave you with patchy thighs. Ask me how I know.
Common Mistakes That Lead to Self Tanner Streaky Legs
Going too dark too fast. One application should give you a light to medium result. If you pile on extra product trying to get deep color in one session, it builds up around problem areas first. Layer it over two or three days instead.
Reapplying too soon. Wait at least 24 hours between applications so you can see exactly where the first coat landed before you add more. This prevents buildup around the ankles and knees.
Bending your knees while the tan develops. If you sit cross-legged or curl your legs under you while the color is coming in, you'll get crease lines in places you don't want them. Keep your legs as straight as possible for at least an hour after applying.
Skipping the exfoliation step. It feels optional. It's not.
Why the Formula You Choose Makes Everything Easier
This is exactly why I keep recommending a cream formula over anything else for legs. You need something that stays workable long enough to blend across a full leg, hydrates so it doesn't grab at dry spots, and develops into a warm golden color rather than the orange result you get with some formulas that aren't well-formulated.
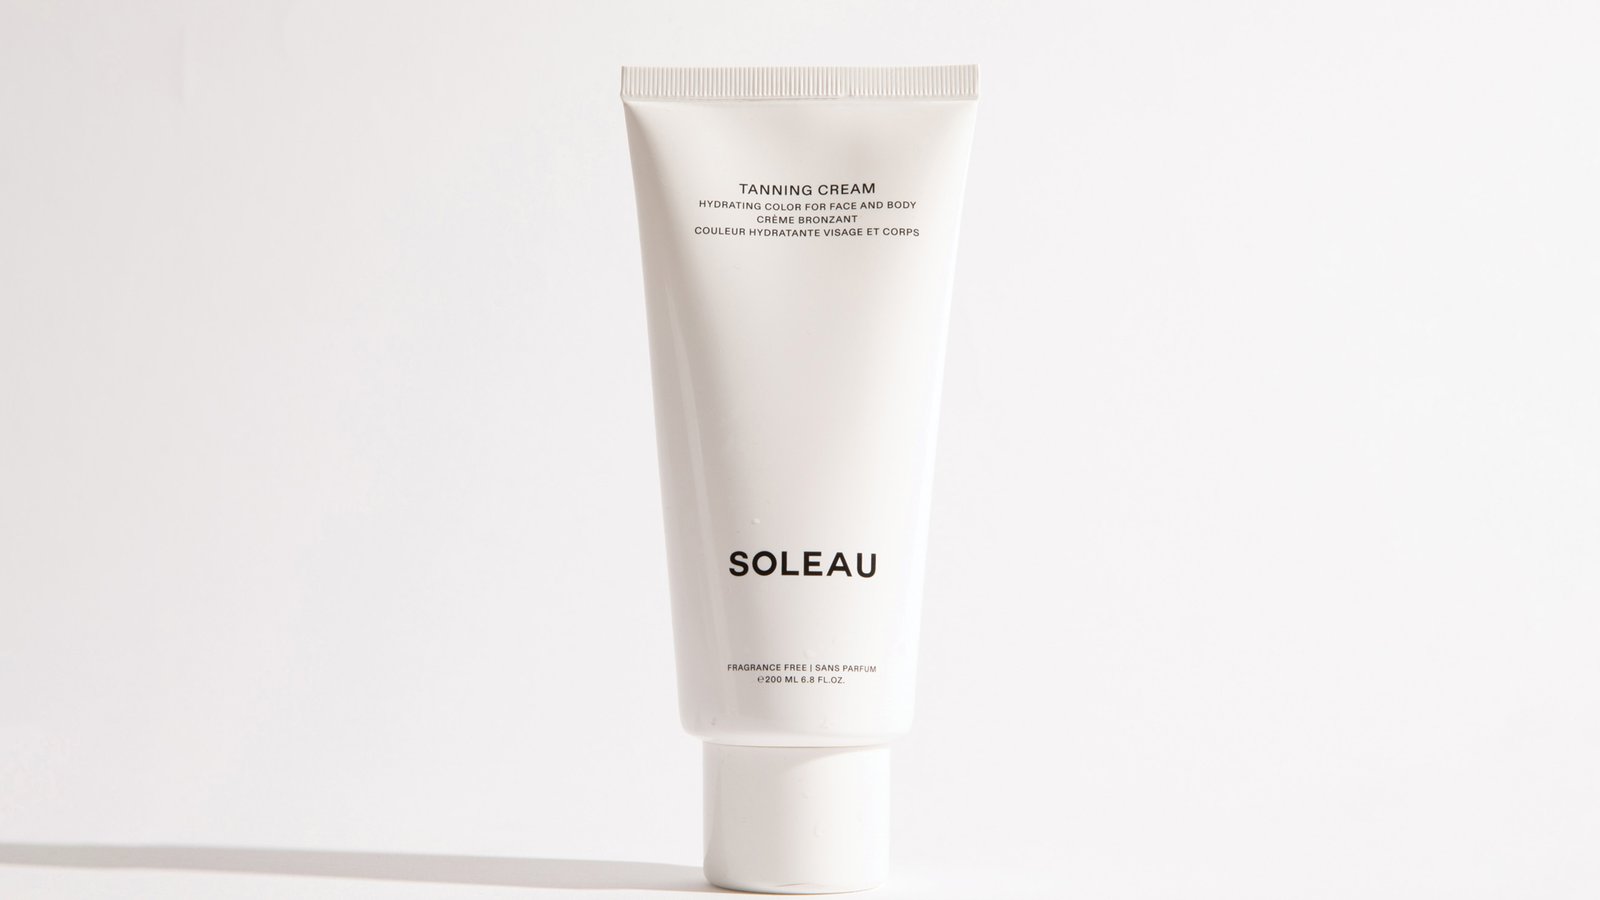
Soleau Tanning Cream hits all of those marks. It's a cream (not mousse), it's hydrating, and the color comes in warm, natural. For anyone who's been dealing with streaky self tanner results, switching to a clean cream formula is usually the fix.
Lynn L. put it simply: "Evened out the tone on my legs and was not orangey looking."
Putting It All Together
Getting even color on your legs comes down to prep and patience more than anything else. Exfoliate the day before. Dilute the dry spots at your knees and ankles with a light barrier of body lotion before you apply.
Use a cream formula. Work from ankle upward with long strokes. Feather at the kneecap. Keep your legs straight while the color develops. Wait 24 hours before reapplying.
Most of the mistakes happen before the product even touches your skin. Get the prep right and the application is pretty forgiving.
If you want to see which formula I've found easiest to work with for full leg coverage, check out our guide to the best self tanners for different skin tones.
For the general application technique from start to finish, the face self tanning guide covers the same careful prep steps for skin that needs extra attention. And if you've already got some uneven color to deal with, our piece on how to remove self tanner has everything you need.
Shop Soleau Tanning Cream →Frequently Asked Questions About Self Tanning Legs
How do I prevent streaky knees when self tanning?
Apply a thin layer of regular body lotion to your kneecap before applying self tanner. This creates a barrier that slows how much DHA the dry skin there absorbs.
Use a feathering circular motion on the knee itself rather than long strokes, and use noticeably less product here than on the rest of your leg. The combination of the lotion barrier and light application almost always prevents the dark knee problem.
Why do my ankles go dark when I self tan?
Ankles are drier than the rest of the leg, and dry skin grabs at DHA faster and harder. Before you apply, moisturize your ankles and heels with body lotion and let it absorb.
When you get to the ankle during application, use a small amount of product and blend inward toward the leg rather than coating the ankle bone directly. Going over the ankle last, with whatever's left on the mitt, is a good approach.
Can I self tan my legs right after shaving?
Wait at least 24 hours after shaving before applying self tanner. Freshly shaved skin has open follicles and slight irritation that can make the tanner look grainy or dotty when it develops. The same applies after waxing. If you're planning a self tan, shave the night before rather than the morning of.
How often should I reapply self tanner on my legs?
Every 3 to 4 days works well once you've built a base layer. For your first couple of applications, wait a full 24 hours between coats so you can see where the color landed before adding more.
This prevents buildup at the knees and ankles, which are the spots most likely to go darker than the rest of your leg if you reapply before the first coat has fully shown itself.