How to Self Tan Your Back Alone (Without the Streaks)


Your back is the hardest body part to self tan alone. I've done the twist-and-reach contortion more times than I can count, and it rarely ends well. Either I miss a wide patch down the center of my back, or I get a visible streak along my spine where I couldn't blend while reaching blind.
I once showed up to the beach thinking I'd done a decent job, and my friend pointed out a pale stripe running straight down my back like a racing stripe. Not my best moment.
But here's what I've figured out after testing how to self tan back solo for years: it's not a flexibility problem. It's a tool problem and a formula problem. Get those two things right, and you can cover your entire back evenly without asking anyone for help.
This guide covers everything. The right tool for reaching your back, the right formula for the job, the exact technique I use step by step, and the mistakes that cause uneven patches or tide lines.
The Tool You Need (and Why Your Mitt Isn't It)
Most people try to self tan their back by loading product onto a regular tanning mitt and reaching over their shoulder. It doesn't work. You can't maintain consistent pressure, you can't see what you're doing, and the product dries on the mitt before you've covered half your back.
The fix is a long-handled back applicator. These are foam or fluffy rollers attached to an extendable handle, specifically designed for back application. You load product onto the foam head, lock in your grip, and use long sweeping strokes like you're painting a wall. Wide surface, even pressure, full reach.
There are a few options worth knowing about:
Dedicated tanning back applicators are the best option if you're doing this regularly. They have a wide foam head designed for tanning product and usually an adjustable handle.
The Tan-Luxe Self Tan Back Applicator is the one I've used longest. It's wide enough to cover real surface area per stroke and the handle reaches the center of your back without much effort.
Foam paint rollers from any hardware store also work, and I'd genuinely recommend one if you're just testing the back-application process before committing to a dedicated tool. They cost a few dollars, the foam head is wide, and they hold product well. I used one for almost a year before switching.
A long-handled bath brush can work for spreading and blending, but not great as a primary applicator. The bristles can cause uneven product distribution. Use it for cleanup and blending the edges near your ribs, not for the main coverage.
Skip aerosol sprays for your back. I know the logic: just spray and you're done. But holding a can at an angle blind behind your back doesn't give you even coverage. You end up with over-sprayed patches and missed spots you have no way of seeing in real time.
Why Formula Matters More on Your Back Than Anywhere Else
This is the part of back self-tanning that almost no one talks about, but it's the most important variable.
Mousse formulas dry fast. A typical self-tanning mousse starts setting within 30-60 seconds of contact with skin. That's fine when you're doing your arms or legs, where you can apply and blend one section completely before moving on. It's a problem on your back, where you need 2-3 minutes to cover the whole surface and can't blend as you go.
By the time you've finished applying mousse to the upper half of your back and start on the lower half, the first section is already half-set. You blend over it and disturb the color. That's where the patchy, streaky results come from.
Cream formulas stay workable significantly longer. A self-tanning cream gives you enough time to cover your full back and blend before anything starts setting. That working window is the difference between an even result and a striped one.
What to Look for in a Back-Application Formula
A few specific things matter when you're choosing a formula for back application:
Cream or lotion texture, not mousse or foam. For the reasons above. You need working time.
Hydrating ingredients like aloe or glycerin. These help the formula fade evenly as your tan wears off. If you apply slightly more product to one section of your back than another (which you will, because you're working blind), hydrating formulas are more forgiving. The tan fades smoothly rather than leaving one darker patch behind.
No heavy bronzing guide color. A dark guide color looks helpful in theory, but on your back it can mislead you.
You can't see your back while you're applying, so the visual feedback the guide color provides isn't available to you. And if you over-apply in one area, the dark guide can create a muddy, uneven look before your tan even develops.
Clean ingredients. Your back has more contact with clothing and bedding than almost any other body part. You'll wear that formula for 8 hours overnight, pressed against sheets.
Formulas free of parabens and harsh fragrance are worth the extra consideration here. For a full breakdown of what's in most self-tanners, see our guide on self tanner ingredients: what to look for and avoid.
How to Prep Your Back Before Application
Exfoliate the day before. Not right before application. Exfoliating right before self-tanning irritates the skin surface and opens it up unevenly, which causes patchy absorption. The day before is the sweet spot.
Focus exfoliation on your shoulder blades and the center of your back along the spine. Those spots naturally have drier, thicker skin and tend to absorb more product, which makes them come out darker. A loofa or gentle body scrub is enough.
After exfoliating, moisturize any areas that run dry. Just a light lotion on those specific spots, not all over your back. A full layer of moisturizer everywhere creates a barrier that blocks even absorption.
Do this at night. During development, fabric friction is your enemy. Sleeping on your back keeps you mostly still for the first few hours. During the day, your back is in constant contact with clothing and chair backs, which can rub off product during development and cause uneven fading.
Step-by-Step: How to Self Tan Your Back Alone
Shower, exfoliate (if you haven't already done it the day before), and dry off. You want completely dry skin.
Step 1: Do the sides of your torso first. Reach around and apply product from your waist to just under your armpit on each side. These are the areas you can actually see and reach with your hand, so do them with a regular mitt. Get complete coverage before touching the back.
Step 2: Load your back applicator lightly. A golf-ball-sized amount of product for a medium-coverage pass. Too much product on the applicator creates blobs rather than an even layer.
Step 3: Sweep vertically from shoulder to waist. Two passes on the right side of your back, two on the left, slightly overlapping in the middle. Long, slow strokes with consistent pressure.
Step 4: Add a horizontal pass across the center. Most missed patches happen along the spine. A left-to-right horizontal sweep fills in that column. One pass is enough.
Step 5: Blend the edges immediately. Where your back meets your sides is where tide lines form. Blend outward with your mitt or the edge of the applicator. Don't let the edge of your coverage line dry without blending it out.
Step 6: Go lighter on the lower back. The curve of your lower back creates a natural hollow where product pools. Lean forward slightly during this section to flatten the surface, and use a lighter hand.
Step 7: Check your shoulders. The joint where your shoulder meets your upper arm is easy to miss. Do a quick pass with your mitt over each shoulder, blending down into the arm.
Wait at least 10-15 minutes before getting dressed. Your back is the last area to fully absorb product, and fabric pressed against it before it's dry will transfer and streak.
The Mistakes That Cause Uneven Back Tans
Using too much product. Thick, heavy application on your back doesn't mean deeper color, it means harder-to-blend, patchy results. Thin and even beats thick every time. You can add a second application in 24 hours if you want more depth.
Skipping the blend step. Every stroke of the applicator needs a blending pass. The center of your back where strokes from the left and right sides meet is where streaks live. Light, overlapping passes blend that seam out before it sets.
Forgetting the sides of your torso. Very visible in a bathing suit. Do them first, while you're fresh and focused.
Applying right after a hot shower. Hot water opens pores and leaves skin slightly damp even after towel-drying. Wait 15-20 minutes after your shower before applying. Cool, completely dry skin absorbs product most evenly.
For more application technique that works for the rest of your body, our full step-by-step self tanner application guide covers prep, mitt technique, and timing in detail.
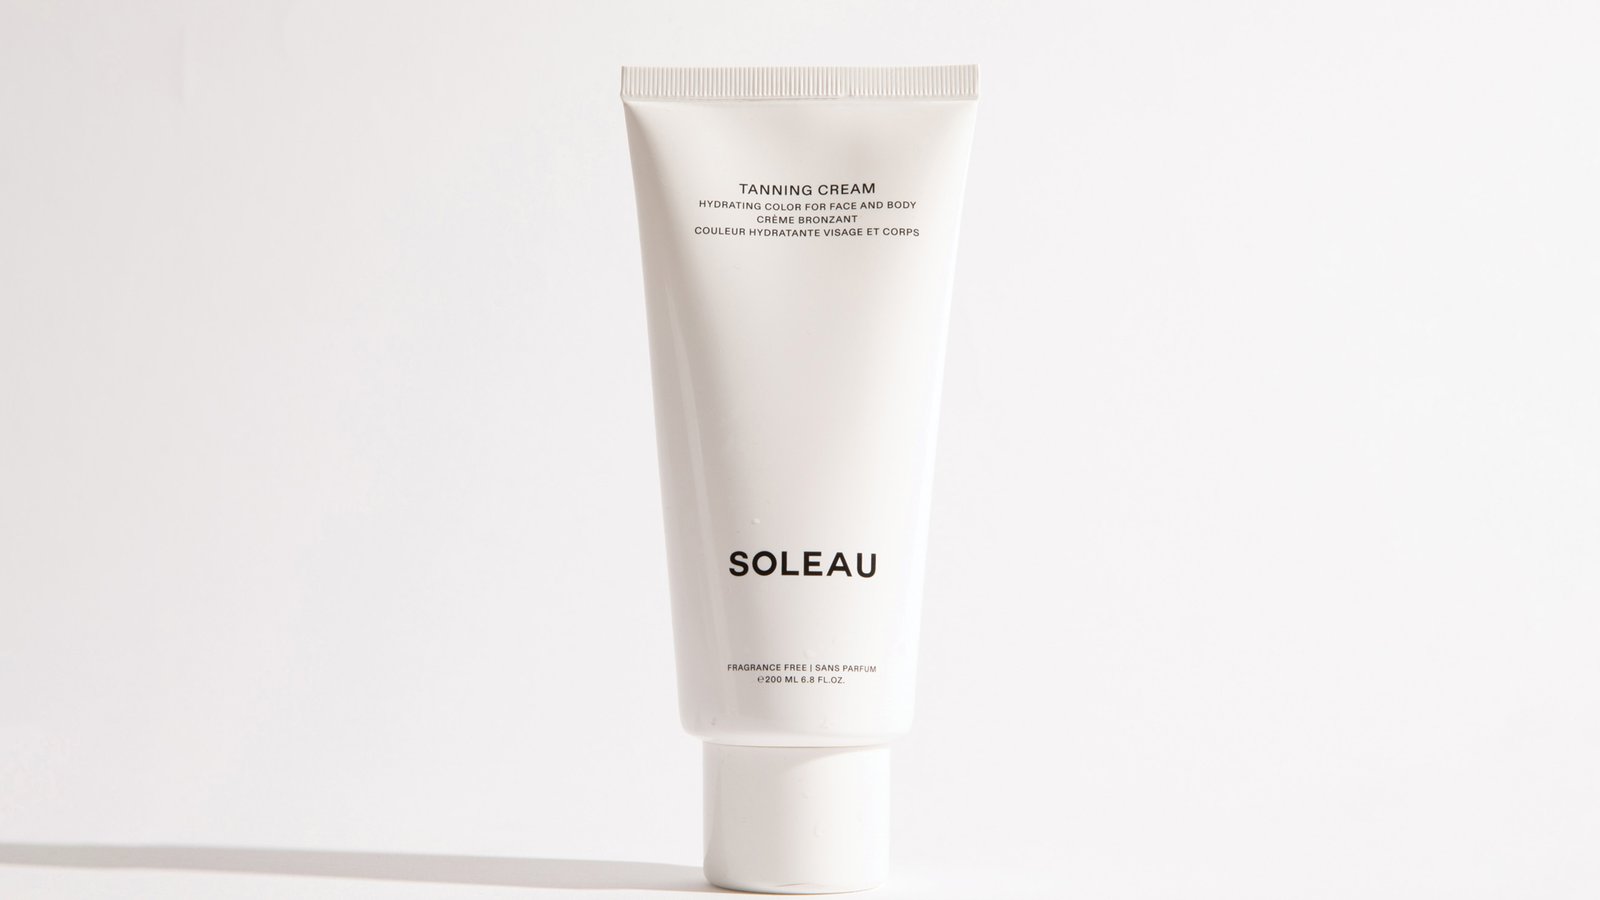
The Formula That Made This Actually Work for Me
I've been recommending Soleau Tanning Cream to anyone who asks about back self-tanning because it solves the formula problem completely.
The cream texture stays workable long enough to cover and blend an entire back without rushing. It develops into a golden color with no orange, fades evenly, and the clean formula means I don't stress about wearing it pressed against sheets all night.
One customer described her first time using it: "I thought the result was subtle and natural looking. It went on easy with help on my back."
That's Patricia H., and I think "went on easy" is exactly what you want from a back-application formula. Nothing about this process should feel rushed or chaotic.
You Don't Need a Partner for This
Self-tanning your back solo is genuinely doable once you have the right setup. A long-handled back applicator, a cream formula that doesn't rush you, the simple technique of vertical strokes plus a horizontal seam-blending pass, and 15 minutes at night. That's it.
The mistake most people make isn't technique. It's using a fast-drying mousse with a regular mitt and being surprised when it doesn't work. Swap the tool and the formula, and your back can look as even as any area you can actually see.
If you're still deciding which formula is right for your skin type overall, our guide to the best self tanner for different skin tones breaks down which formulas work best for fair, medium, and deeper skin.
Shop Soleau Tanning Cream →Frequently Asked Questions About Self Tanning Your Back
Can you self tan your back by yourself?
Yes. The key is using a long-handled back applicator or foam roller instead of trying to reach with a regular mitt. A cream formula also helps because it stays workable long enough to cover and blend your whole back before it starts to set.
What tool works best for applying self tanner to your back?
A long-handled foam applicator (sometimes called a tanning roller or back applicator) is the most effective tool for reaching your back alone. It gives you reach, consistent pressure, and wide surface area per stroke. A foam paint roller from the hardware store is a cheap, workable alternative that performs surprisingly well.
Should I use mousse or cream self tanner on my back?
Cream, without question. Mousses dry in under a minute, which isn't enough time to cover and blend your entire back solo. A self-tanning cream stays workable for 2-3 minutes, giving you the time to do the job properly. This is probably the single biggest change you can make to improve back results.
How do I avoid streaks on my back when self tanning?
Use less product than you think you need, and blend immediately after every stroke. The most common back streak happens along the spine where coverage from the left and right sides meets. A quick horizontal blending pass along that seam, before anything sets, eliminates it almost every time.